Paint Correction vs Ceramic Coating: Which First?
Always correct the paint first, then apply the ceramic coating. Coating seals in whatever is underneath, so any swirls or scratches left behind stay visible for years.
If you’re weighing “paint correction vs ceramic coating” for your next detail, the most important thing to understand is that they are not rivals — they are two stages of the same job. Paint correction restores the clear coat by removing defects, while ceramic coating locks in that restored finish for years. One fixes, the other protects, and the order you choose determines how good the final result looks.
- Order matters: Paint correction always comes before ceramic coating because the coating locks in existing defects.
- Different jobs: Correction removes clear coat flaws; coating adds a protective layer. They don’t replace each.
- Prep is critical: Decontamination, paint thickness measurement, and a panel prep wipe are required for proper coating.
- Maintenance continues: Coated paint still needs proper washing to avoid reintroducing swirls and scratches.
- Budget for both: Correction is labor-heavy, coating is a multi-year investment — plan for both services together.
The Short Answer: Paint Correction Always Comes First
Apply the ceramic coating only after the paint has been corrected. A coating is a semi-permanent sealant that bonds to the clear coat and stays there for years, which means it preserves whatever surface it lands on. If you coat over swirls, etched water spots, or buffer trails, those defects are sealed in and remain visible for the life of the coating. Removing them later means stripping the coating first, which adds labor and cost to a job that was avoidable.
Think of it like finishing a floor: you sand and refinish the wood before you apply the protective topcoat. The topcoat doesn’t hide the scratches; it makes them permanent.
Paint Correction vs Ceramic Coating: Two Different Jobs
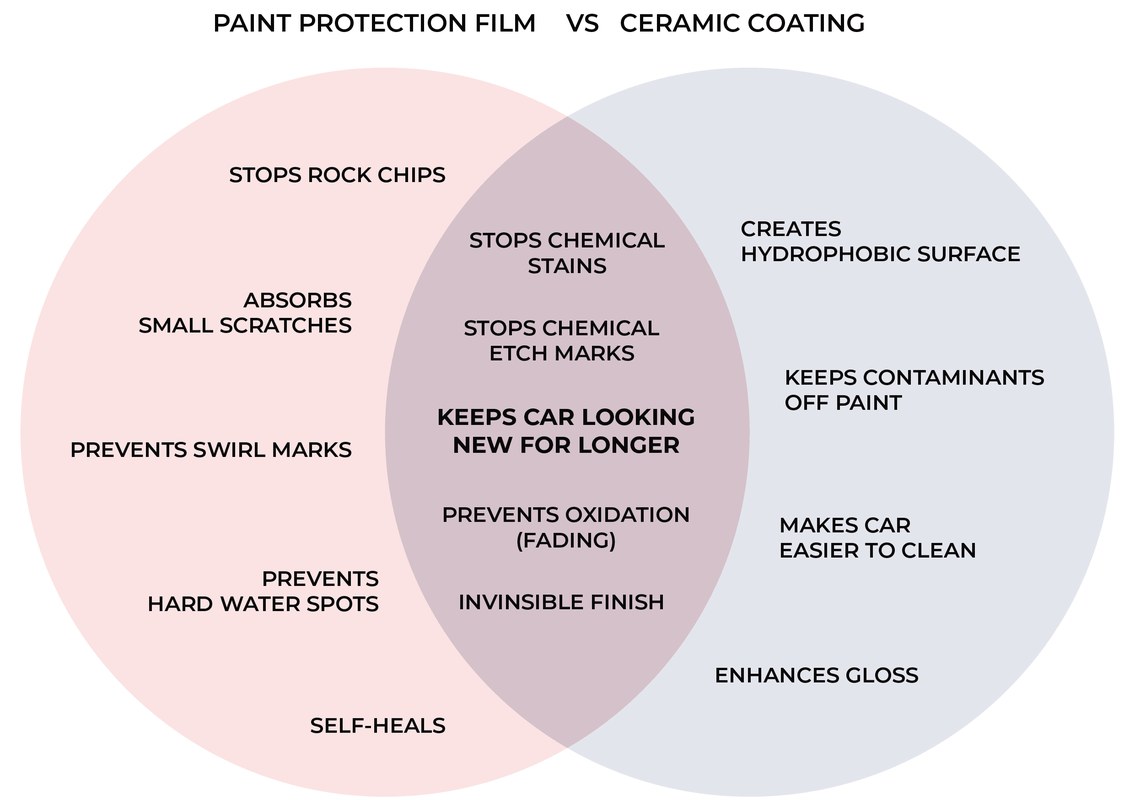
One of the biggest misconceptions in detailing is that these services overlap. They don’t. Correction is a subtractive process, and coating is an additive one. Understanding the difference is the key to deciding what your paint actually needs.
Paint Correction: Removing Flaws, Not Adding Protection
Paint correction uses abrasive compounds and polishes with a machine polisher to level the clear coat. The goal is to remove or reduce surface defects: swirl marks from improper washing, fine scratches, oxidation, hazing, and bonded contaminants that leave the finish looking dull. Because the process removes a microscopic layer of clear coat, it’s measured in microns and should be done carefully — especially on vehicles with thin factory paint.
Once the polishing is done, the paint looks deeper and glossier because light reflects off a smooth, level surface. But correction adds no lasting protection. The freshly polished clear coat is actually more vulnerable to contamination until a sealant, wax, or coating is applied.
Ceramic Coating: Sealing Paint, Not Fixing It
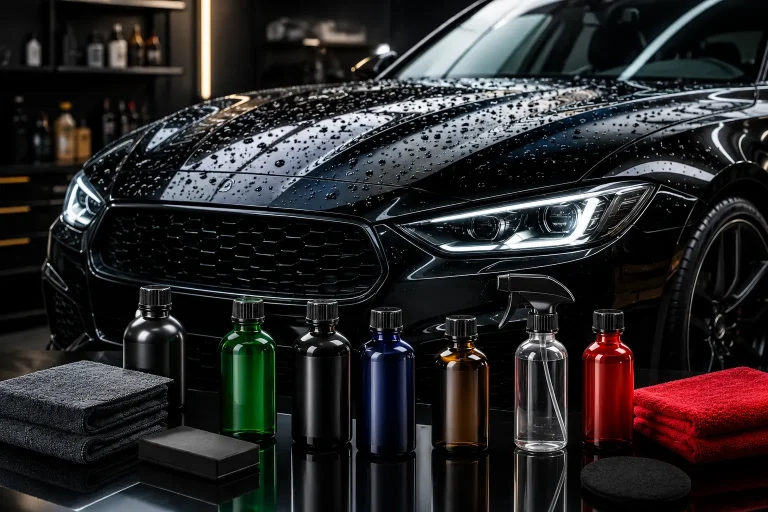
A ceramic coating is a liquid polymer — usually silica-based — that chemically bonds to the clear coat and cures into a hard, glass-like layer. That layer provides long-term hydrophobic behavior, chemical resistance, and UV protection. Water beads and sheets off, bird droppings and tree sap are less likely to etch the paint, and washing becomes noticeably easier.
What a coating cannot do is remove existing defects. It doesn’t fill swirl marks, level scratches, or restore clarity to oxidized paint. It simply magnifies the finish underneath it, which is exactly why the condition of that finish matters so much before application.
Side-by-Side Comparison: Protection, Gloss, and Durability
If you’re trying to decide between the two, this comparison should help clarify what each service delivers — and why most serious detailing plans include both.
| Factor | Paint Correction | Ceramic Coating |
|---|---|---|
| Primary job | Removes swirls, scratches, and oxidation | Seals and protects the clear coat |
| Effect on paint | Removes a thin layer of clear coat | Adds a hard protective layer |
| Gloss | Creates depth and clarity by leveling the surface | Adds slickness and reflective shine on top |
| Durability | Lasts until new defects appear | Lasts years with proper care |
| Cost driver | Labor hours based on paint condition | Coating tier, vehicle size, and prep work |
Appearance: Depth and Gloss vs Clarity and Shine
Paint correction is what creates that deep, wet-look gloss you see on show cars. By leveling the clear coat, it removes the haze that scatters light, so the color looks richer and reflections look crisp. Ceramic coating adds to that by creating a slick, highly reflective surface. On an uncorrected car, a coating just makes the swirls shinier.
Durability: Months of Protection vs Years of Protection
The results of paint correction are only as durable as the protection you put on top. Without protection, a corrected finish can pick up new swirls and contamination within a few months of normal washing and driving. A quality ceramic coating, on the other hand, is designed to last for years when maintained properly. For a deeper look at realistic lifespans, check our guide on how long ceramic coating lasts.
Cost: One-Time Labor vs Multi-Year Investment
Paint correction is essentially all labor. The cost is driven by how many hours it takes to remove the defects, which depends on the size of the vehicle, the hardness of the clear coat, and how neglected the paint is. Ceramic coating is a multi-year investment in protection. The price reflects the coating product itself, the installer’s skill, and the preparation work required — which, in most cases, includes correction.
Why Coating Over Uncorrected Paint Is a Waste of Money
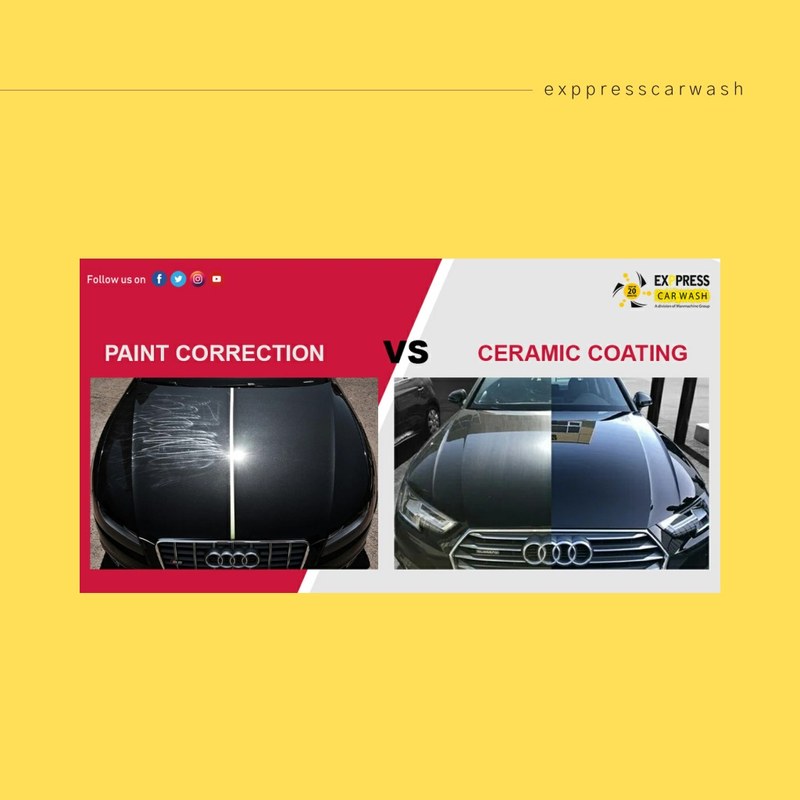
Applying a ceramic coating to a car that hasn’t been corrected is one of the most common — and most expensive — mistakes in detailing. The coating seals in every imperfection, making them more noticeable under bright light because the surface is now glass-smooth and highly reflective. You end up with a protected car that still looks scratched, and you’ve spent hundreds of dollars to make those flaws harder to fix.
- Swirls and scratches are removed before they get sealed in
- Coating bonds to a clean, level surface for better adhesion
- Final gloss is dramatically deeper and more uniform
- Defects remain visible for the life of the coating
- Future correction requires stripping the coating first
- You pay premium money for a finish that still looks flawed
If you already have a coated car that needs correction, the coating has to come off first. That’s a separate chemical process, and it adds time and expense to the job. For more on that scenario, read our guide on how to remove ceramic coating.
The Correct Order of Operations: Step-by-Step Process
Here’s the professional workflow for getting a coated finish that actually looks like it was worth the money. Every step builds on the one before it, and skipping any of them shows up in the final result.
Step 1: Wash, Decontaminate, and Clay the Paint
Correction starts with a clean surface. A standard wash removes loose dirt, but it won’t remove embedded iron particles, industrial fallout, or tree sap. A chemical decontamination step — usually an iron remover — followed by a clay bar or clay mitt pulls bonded contaminants out of the paint so they don’t get dragged across the clear coat during polishing.
Step 2: Measure Paint Thickness and Do a Test Spot
A paint depth gauge tells the detailer how much clear coat is present and how aggressive the correction can safely be. This matters because every pass with a compound removes a small amount of clear coat. On thin or single-stage paint, the margin for error is small.
Polishing removes clear coat, and it cannot be replaced. If the paint is already thin, an aggressive compound and cutting pad can burn through to the base coat or primer. Always measure paint thickness first and start with the least aggressive combination that works.
Before committing to a full correction, polish one small test panel — usually a 12-by-12-inch section on the hood or trunk — and inspect it under direct light. The test spot tells you whether a one-step polish is enough or whether you need a separate compounding stage.
Step 3: Compound and Polish to Remove Defects
Compounding removes deeper defects like scratches and oxidation. Polishing refines the surface and removes the haze left by compounding. Some vehicles need both stages; others respond well to a single one-step polish. The goal is a level, defect-free surface with no buffer trails left behind.
Step 4: Wipe Down with IPA or Panel Prep
After polishing, the paint is covered in residual oils from the compound and polish. Ceramic coatings won’t bond properly to an oily surface. A wipe-down with isopropyl alcohol or a dedicated panel prep solution removes those oils and leaves the clear coat chemically clean and ready for coating.
Step 5: Apply the Ceramic Coating
The coating is applied in small sections using an applicator block, then leveled off before it flashes. Most coatings require a specific ambient temperature and humidity range, and the application technique matters. Working in direct sunlight or applying too thick a layer can cause high spots that are difficult to remove after curing.
Step 6: Cure Time and Post-Cure Care
Ceramic coatings don’t reach full hardness immediately. Most need 12 to 24 hours before the car can be safely exposed to rain or moisture, and several days before washing. During that window, the coating is still gassing off and can be damaged by water spots or contact. The exact timeline depends on the product and the environment, so check our breakdown of how long ceramic coating takes to cure before you plan your first drive.
How to Tell If Your Paint Needs Correction Before Coating
Not every car needs a full multi-stage correction. Some newer vehicles with well-maintained paint may only need a light one-step polish before coating. Here’s how to tell the difference.
The Swirl Test: Inspecting Under Direct Light
Park the car in a shaded area and shine a bright LED light — a swirl-finder light or even a strong flashlight — at an angle across the paint. Swirl marks appear as fine spider-web patterns that follow the direction of previous washing. If you see them, the paint needs at least a light correction before coating. If the surface looks clean and uniform, a one-step polish may be enough to prep it.
One-Step Polish vs Full Multi-Stage Correction
A one-step polish uses a single product to remove light oxidation and minor swirls while leaving a refined finish. It’s faster and less expensive, but it won’t remove deep scratches or heavy water etching. A full multi-stage correction uses a compound followed by a polish, and it’s the right choice for neglected paint, dark colors that show every flaw, or cars with visible scratches and hazing. Be realistic about the condition of your paint — coating a finish that needed full correction but only got a one-step will still leave visible defects sealed in.
Cost and Value: What to Budget for Both Services
Pricing for paint correction and ceramic coating varies significantly by region, vehicle size, paint condition, and the reputation of the installer. Rather than relying on a single number, it’s more useful to understand what drives the price — and why the cheapest quote is rarely the best value.
DIY vs Professional Paint Correction Costs
Doing your own correction saves on labor, but it requires a machine polisher, pads, compounds, polishes, and the willingness to learn on your own paint. The risk is removing too much clear coat, especially on thin factory finishes. Professional correction is billed by the hour because the cost is the detailer’s time, skill, and experience. A vehicle that needs heavy compounding will always cost more than one that only needs a light polish.
Ceramic Coating Price Ranges and What Changes the Price
Coating prices are tied to the tier of product used, the size of the vehicle, and the prep work required. A multi-year consumer-grade coating on a well-prepped sedan is a different job than a professional-grade coating on a large SUV with neglected paint. Paint condition is often the biggest variable, which is why the same coating can cost very different amounts on two identical cars. For a closer look at the factors that move the number, see our detailed guide on ceramic coating price.
Maintenance After Coating: Protecting Your Correction Investment
The whole point of coating over corrected paint is to make maintenance easier. But “easier” doesn’t mean “automatic.” How you wash the car in the first year determines how long the finish stays flawless.
Proper Wash Technique for Coated Paint
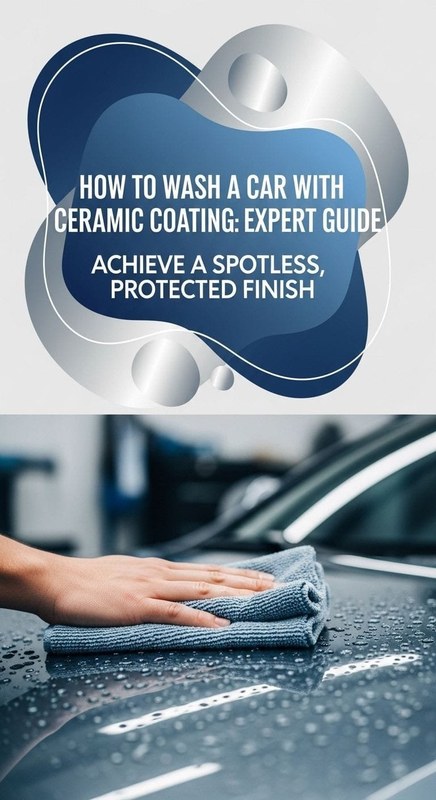
Even with a coating, automated tunnel washes with spinning brushes can reintroduce swirls. Use the two-bucket method, a pH-neutral shampoo, and a soft microfiber wash mitt. Dry with a dedicated drying towel or a blower rather than dragging a towel across the paint. Coatings repel water, but they don’t make the paint scratch-proof — a coated surface can still be marred by grit and improper washing. For a full routine, follow our guide on how to wash a car with ceramic coating.
Top-Up Products, Annual Inspections, and When to Reapply
Over time, the coating’s hydrophobic behavior will fade as it accumulates contamination. A pH-neutral wash and an occasional coating-safe detail spray can extend the performance between applications. Many owners schedule an annual inspection and light decontamination to keep the coating working at its best. When water stops beading and sheeting the way it used to, it’s usually time for a new layer of protection — but the corrected paint underneath will still look better than it did before the coating was ever applied.
Always correct the paint before applying a ceramic coating. Correction removes the defects that a coating would otherwise seal in forever, and coating preserves the flawless finish that correction creates. If your budget only allows one service, choose the one that addresses your biggest problem: correction if the paint looks dull and scratched, coating if the paint is already in good shape and you want to keep it that way.