How to Clean Leather Car Seats Without Damage: Easy Method

Use a pH-balanced leather cleaner, soft microfiber towels, and a gentle touch to remove dirt without stripping the protective finish. Vacuum first, clean in small sections, and condition afterward to keep leather supple.
Learning how to clean leather car seats without damaging them comes down to using a pH-balanced cleaner, soft tools, and a gentle touch instead of harsh household products. The method below is safe for factory leather, easy to repeat, and takes most drivers under an hour once you have the right supplies.
- Method: Vacuum first, then clean with a pH-balanced leather product and soft tools to avoid.
- Products: Avoid household cleaners, degreasers, and DIY remedies; they can dry out leather or damage.
- Application: Work in small sections, never soak the seat, and always wipe away cleaner residue.
- Maintenance: Condition every few months and protect seats from sun exposure to slow cracking and.
- Limits: Cleaning maintains healthy leather but cannot repair cracks, tears, or peeling; those need professional.
Direct Answer: What to Know About how to clean leather car seats without damaging them
The short answer: vacuum the seats first, clean them with a pH-balanced leather cleaner and a soft microfiber towel or detailing brush, wipe away all residue, then apply a conditioner made for automotive leather. Work in small sections, keep the leather only slightly damp, and never let the cleaner dry on the surface.
Most modern car seats use coated (finished) leather, meaning the hide is covered with a protective polymer layer. That topcoat is what you actually clean and protect. Harsh products like dish soap, all-purpose cleaners, or degreasers can strip or dull that finish over time, which is why the right product and technique matter more than elbow grease.
Fit, Compatibility, and Who It Suits
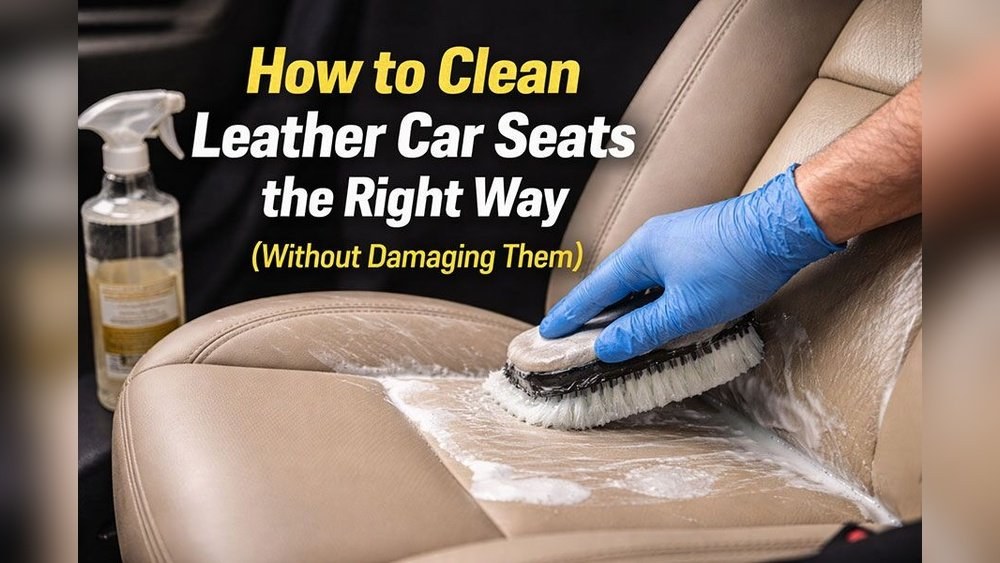
This cleaning method suits the vast majority of factory-installed leather interiors, including coated leather, Nappa leather, and leatherette. It also works on perforated leather seats, as long as you avoid pooling liquid in the holes, and on heated or ventilated seats once they are cool and turned off.
It is a good fit for daily commuters, families with kids, pet owners, and anyone preparing a car for resale. It is not a fix for leather that is already cracked, torn, or peeling. If the hide is damaged, cleaning and conditioning will maintain what is left, but they will not restore it.
Before you start, confirm what your seats are actually made of. Many vehicles advertise “leather” seating surfaces while using leatherette or vinyl on the bolsters, head restraints, and rear seating. The care routine is similar, but conditioner is less essential on vinyl and can leave a residue if overused. If you are weighing material options for a future car, the leather seats vs cloth seats breakdown covers the upkeep trade-offs.
Materials, Construction, and Key Features
The two products that matter most are a leather cleaner and a leather conditioner. A safe cleaner is water-based, pH-balanced (roughly neutral), and free of ammonia, alcohol, bleach, and petroleum solvents. It should be labeled safe for coated or automotive leather. A good conditioner is non-greasy, absorbs rather than sitting on the surface, and may include UV inhibitors, though the level of real sun protection varies by formulation.
Equally important are the tools. Plush, lint-free microfiber towels are gentler than terry cloth and pick up more dirt. A soft detailing brush with natural or synthetic bristles helps lift grime from seams, stitching, and grain without scratching. A vacuum with a soft brush attachment removes the abrasive grit that causes micro-scratches during wiping.
Installation, Application, and Everyday Use
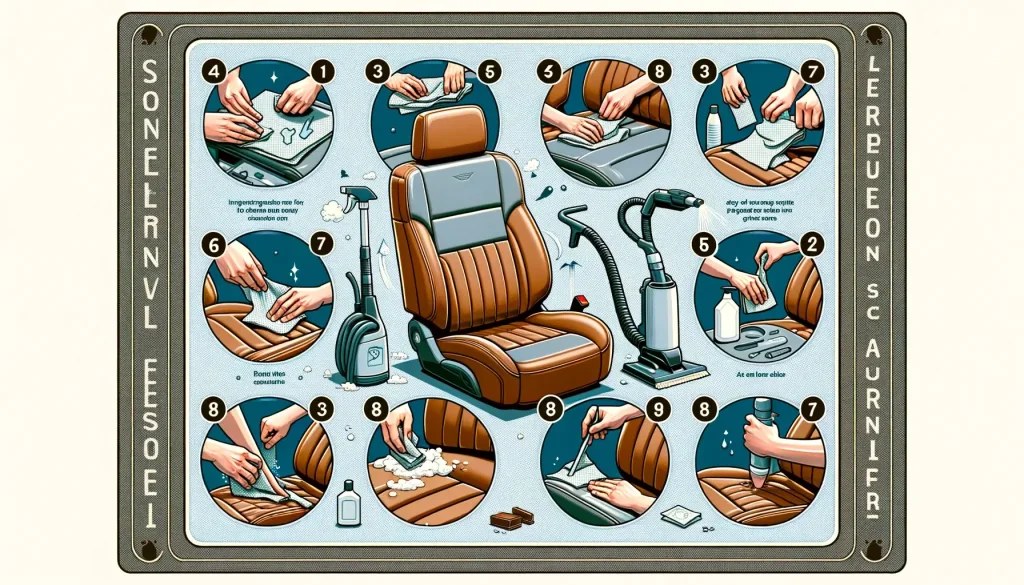
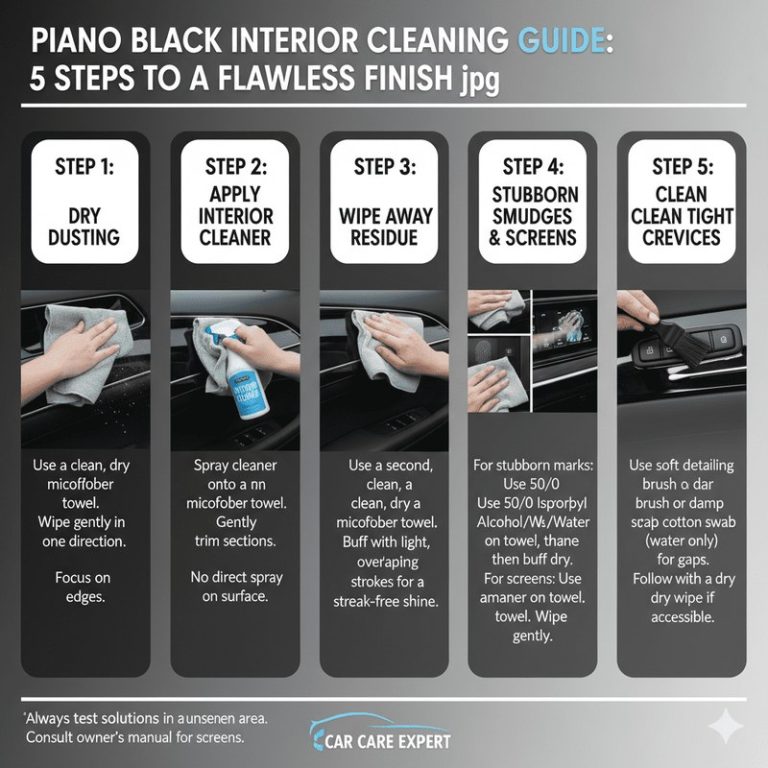
Cleaning leather seats is not complicated, but the order matters. Follow these steps for a safe, thorough clean.
Use a soft brush attachment to lift dust, crumbs, and grit from the seat surface, seams, and crevices. Skipping this step lets abrasive particles scratch the leather during wiping.
Apply a small amount under the seat or on a lower side panel, wait a minute, and check for discoloration before treating the visible surface.
Mist the product onto a microfiber towel or soft brush, then work in small sections using light circular motions. If the product directions allow direct spraying, use a light mist and avoid pooling.
Use a clean microfiber towel dampened with water to remove cleaner residue, then dry with a fresh towel. Never let the cleaner dry on the leather.
Apply conditioner per the product instructions, let it absorb for the recommended time, then buff off any excess with a clean towel.
For everyday use, keep the routine simple. Blot spills as soon as they happen instead of rubbing, which pushes liquid deeper into the grain. Avoid setting heavy or sharp objects on the seats, and be mindful of denim rivets and metal buttons that can scratch the surface over time.
Work in the shade or a garage and keep the seats cool. Heat speeds up drying, which can leave cleaner residue and make conditioning less effective. Turn off heated seats and let them cool completely before you start.
Cleaning, Care, and Long-Term Maintenance
Frequency depends on use. A light wipe-down with a damp microfiber towel once a month removes dust and light grime. A full clean-and-condition routine every three to six months handles deeper soiling. Vehicles in hot, sunny climates or those used daily by kids or pets may need attention more often.
Sun exposure is the biggest long-term threat to leather. Parking in the shade, using a windshield sunshade, and applying a conditioner with UV protection claims can slow fading and cracking. Treat these products as maintenance, not armor: no conditioner can fully stop sun damage, and most claims vary by brand and formulation.
Seasonal care matters too. In winter, road salt and wet clothing can leave residue on seats, so wipe them down more frequently. In summer, sweat and sunscreen can transfer onto the leather; a quick monthly wipe keeps those from building up.
Important Limitations and Common Mistakes
Most leather damage from cleaning comes from the wrong products or technique, not from cleaning itself. Dish soap and all-purpose cleaners are alkaline and can strip the protective finish. Degreasers are too aggressive for coated leather. Magic erasers and stiff scrub brushes are abrasive enough to dull the surface. Saddle soap, despite its name, is designed for unfinished leather and can leave a residue on automotive seats.
DIY remedies such as olive oil, vinegar, or baby wipes are popular online but risky. Oils can turn rancid and attract dirt, vinegar is acidic, and many baby wipes contain alcohol or other drying agents. If a product is not labeled for automotive leather, do not use it.
Another common mistake is soaking the seat. Excess moisture can seep into the foam, and on perforated or ventilated seats it can reach wiring and heating elements. Always work with a slightly damp towel rather than a wet one, and dry the surface before moving to the next section.
Finally, set realistic expectations. Cleaning removes dirt and restores a clean appearance, but it cannot repair cracks, tears, color loss, or peeling. Those conditions require professional repair, reupholstery, or protective seat covers.
Never mix cleaning chemicals, and avoid products containing ammonia, bleach, alcohol, or petroleum solvents. Work in a ventilated area, keep seats cool, and follow the manufacturer’s dwell time. Excess moisture can damage seat foam, wiring, and heating elements in perforated or ventilated seats.
- Vacuum before wiping to remove abrasive grit
- Test cleaners in a hidden area first
- Use pH-balanced products made for automotive leather
- Blot spills promptly
- Use household cleaners, degreasers, or magic erasers
- Soak seats or let cleaner dry on the surface
- Clean heated or ventilated seats while warm
- Expect cleaning to repair cracks or peeling
Value, Alternatives, and What to Verify
Cleaning leather seats yourself costs far less than professional detailing and takes under an hour once you have supplies. A professional detail makes sense for deep-set stains, heavily soiled interiors, or pre-sale preparation, but prices vary widely by region and shop, so it is worth getting a local quote and confirming the shop uses leather-safe products.
| Option | Best For | Key Consideration |
|---|---|---|
| DIY cleaning and conditioning | Regular maintenance and light soiling | Requires the right products and gentle technique |
| Professional detailing | Deep stains, heavy soiling, pre-sale prep | Cost varies; confirm the shop’s leather-safe process |
| Leather seat covers | Protecting existing leather from wear and UV | Verify airbag, heated-seat, and control compatibility |
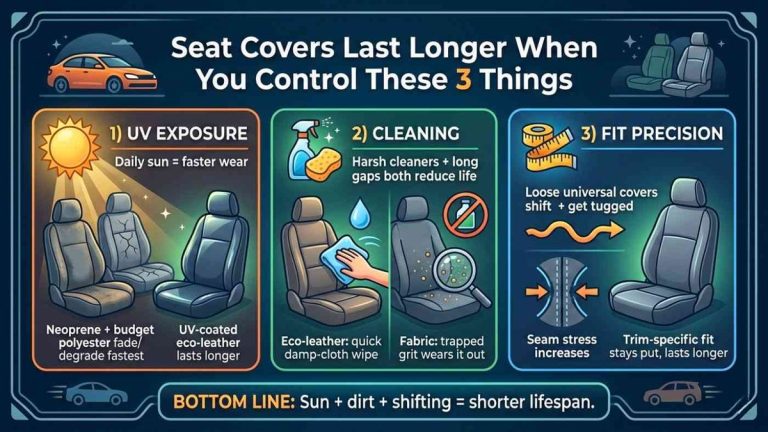
If your leather is already in good shape and you want to protect it from daily wear, seat covers are a practical layer of defense. The best seat covers for leather car seats guide explains what to look for, and it is worth checking whether seat covers protect leather seats from cracking before you commit. If you decide to install covers, the leather seat cover installation guide covers fitment, airbag clearance, and heated-seat considerations.
Before buying any cleaner or conditioner, verify a few details. Check your owner’s manual for the automaker’s leather care recommendations. Read the product label for pH balance, coated-leather safety, and UV protection claims. Confirm whether your seats are genuine leather or leatherette, since that changes how much conditioner you need. And always test a new product on a hidden area before applying it to the full seat.
Final Recommendation
The final recommendation is straightforward: invest in a pH-balanced leather cleaner and conditioner, keep a set of plush microfiber towels in your detailing kit, and clean on a schedule rather than waiting for visible grime. For leather that is already damaged, skip the quick fixes and budget for professional repair or quality seat covers instead.
- Best use case: routine cleaning and conditioning of factory leather seats
- Main strength: safe, repeatable method that preserves the protective finish
- Main limitation: cannot repair existing cracks, tears, or heavy wear
- Next verification step: check your owner’s manual and product labels for pH balance and coated-leather safety