How to Remove Odor from Car Interior: 7 Easy Detailing Tips
how to remove odor from car interior is easiest to judge by fit, material, installation or application needs, care requirements, compatibility, and value for your vehicle.
Learning how to remove odor from car interior surfaces is one of the most common detailing challenges US drivers face. Whether you’re dealing with a spilled latte, a damp gym bag, or years of accumulated dust, the source of the smell is rarely where you expect it to be. These seven detailing steps target the root cause of most car odors without guesswork.
- Confirm fit: Check vehicle, trim, dimensions, surfaces, and safety-system compatibility.
- Check materials: Match construction or chemicals to the intended seat, floor, trim, paint, glass, or device.
- Plan setup: Follow manufacturer instructions and keep airbags, controls, sensors, vents, pedals, and moving parts clear.
- Plan upkeep: Compare cleaning, maintenance, durability, warranty, and replacement needs.
Why Your Car Smells and How to Fix It Fast
Car odors fall into two categories: surface smells and absorbed smells. Surface smells sit on top of plastic, vinyl, or fabric and usually fade after one wipedown. Absorbed smells penetrate porous materials like foam padding, carpet fibers, and headliner fabric. That’s why a car can still smell like sour milk weeks after a spill has dried.
The 20-Minute Rule: Source, Vacuum, Neutralize
If you only have 20 minutes, spend it in three stages. First, find the source: check under seats, in cup holders, and around seatbelt buckles for food debris, damp fabric, or spilled liquid. Second, vacuum every surface you can reach, including the gaps between seats and the center console. Third, apply an odor neutralizer to the specific area where the smell originates rather than spraying the whole cabin.
When You Can Skip the Detailing Products
Some odors don’t require a full detailing kit. If the smell comes from a single French fry under the seat or a damp towel left overnight, removing the source and airing out the car for an hour may be enough. Many DIY attempts fail because they add more fragrance on top of the source instead of removing it.
Supplies and Surface Compatibility: What to Use Where
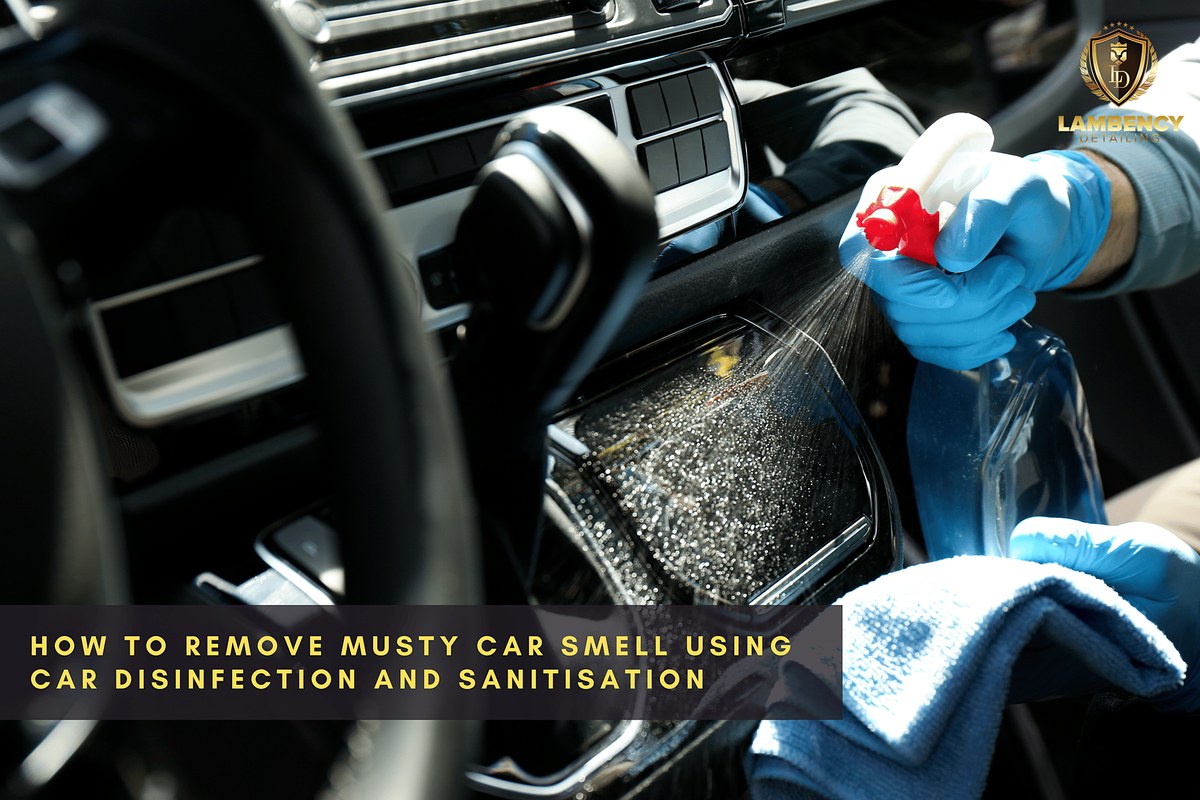
Before you start, match the cleaner to the surface. Using the wrong product can damage upholstery or leave a sticky residue that attracts more dirt. Knowing which cleaner works on each material saves time and prevents costly mistakes.
Fabric vs. Leather vs. Vinyl: Choosing the Right Cleaner
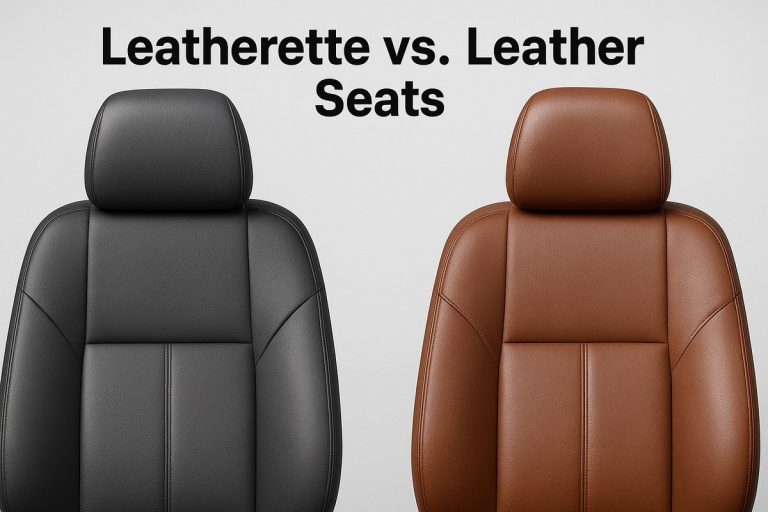
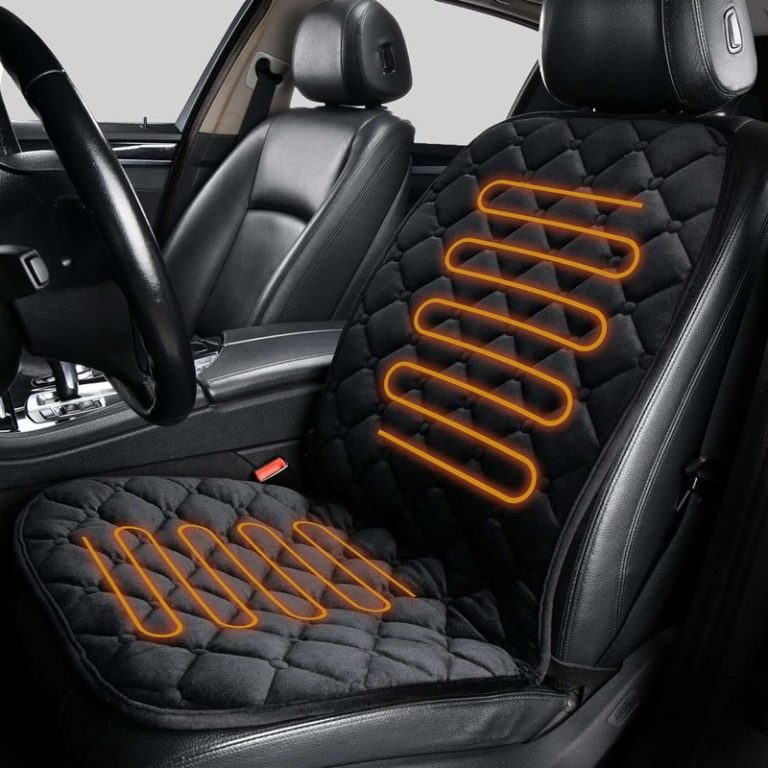
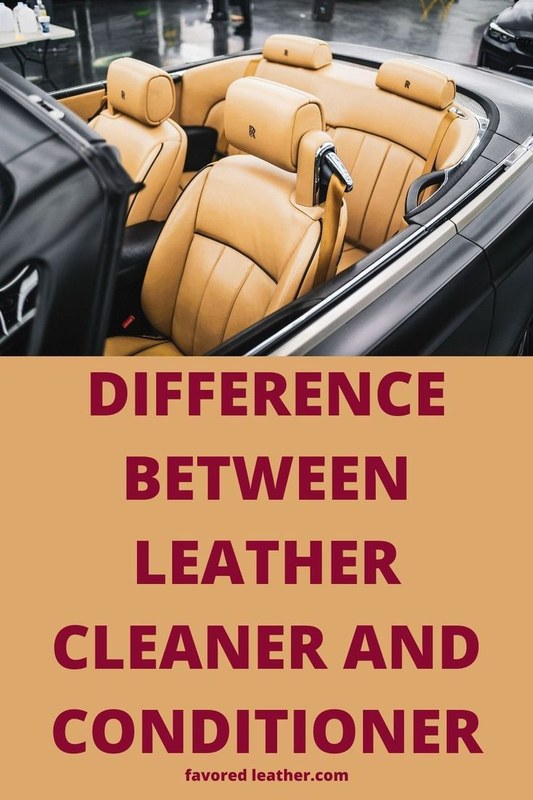
Fabric upholstery responds well to water-based upholstery shampoos and enzyme cleaners because they break down the organic compounds that cause smells. Leather needs a pH-balanced leather cleaner and conditioner; harsh all-purpose cleaners can strip the protective topcoat and dry out the hide. If you want to protect leather seats from future damage, seat covers are one option, but they need to be compatible with your car’s airbags and seat heaters. Vinyl is more forgiving and can handle diluted all-purpose cleaner, but avoid abrasive pads that leave micro-scratches.
Always test any cleaner on a hidden area first. Check the manufacturer’s label for dilution ratios and dwell times, and never mix ammonia-based cleaners with bleach-based products.
Why Baking Soda, Vinegar, and Enzymes Work Differently
Baking soda absorbs odors by trapping odor molecules in its porous structure, which makes it useful as a dry treatment for carpets and seats. Vinegar neutralizes alkaline odors like pet urine through an acid-base reaction, but its own smell lingers until it dries. Enzyme cleaners go a step further: they digest the organic material causing the odor, which makes them the most effective choice for protein-based smells like milk, sweat, and food spills.
Step 1: Prep the Interior Before Any Liquid Touches It
Skipping prep is the most common mistake in DIY detailing. If you spray a cleaner onto a dirty surface, the liquid mixes with the dirt and pushes it deeper into the fabric. Proper prep takes 10 minutes and makes every later step more effective.
Remove Floor Mats and Loose Debris First
Pull out every floor mat and set them aside for separate cleaning. Shake out loose dirt, then check under the seats and in the footwells for trash, coins, and food wrappers. Use a trim tool or a stiff brush to dislodge debris that’s stuck in carpet fibers.
Vacuum Technique for Deep-Set Odor Particles
Use a crevice tool along the edges of the seats, under the seat rails, and around the center console. For carpeted areas, vacuum in multiple directions to lift matted fibers and release trapped dust. If your vacuum has a powered brush head, use it on upholstery to agitate the fibers and pull out fine particles that carry odor.
Step 2: Deep Clean Carpets and Upholstery

Once the interior is prepped, it’s time to deep clean the soft surfaces. This step targets the absorbed odors that a quick wipe-down can’t reach.
Shampooing vs. Steam Cleaning: Which Works Better for Odors
Shampooing uses a foaming cleaner that you work into the fabric with a brush, then extract with a wet-dry vacuum. It’s effective for general stains and mild odors. Steam cleaning uses high-temperature vapor to break down dirt and kill bacteria without harsh chemicals, which makes it a strong option for stubborn smells. However, steam adds moisture that must be fully extracted to avoid creating a new musty odor.
After shampooing or steam cleaning, keep the windows cracked and run the cabin fan on high for at least an hour. The faster the interior dries, the lower the risk of mildew-related re-odor.
Extraction Tips to Prevent Musty Re-Odor
If you use a wet-dry vacuum to extract cleaner, go over the area several times with the squeegee attachment until the water runs clear. Press down firmly and work slowly so the vacuum pulls out as much moisture as possible. For seats, tilt the cushion to allow trapped water to drain out of the foam. If you’re planning to install leather seat covers, do that after the odor source is resolved so you don’t trap the smell underneath.
Step 3: Wipe Down Hard Surfaces and the Headliner
Hard surfaces like the dashboard, door panels, and center console collect dust, skin oils, and airborne residue from food and smoke. These surfaces need a different approach than fabric.
Plastic, Vinyl, and Trim: Safe Application and Drying
Spray cleaner onto a microfiber towel rather than directly onto the panel to prevent dripping into electronics or vents. Work in small sections and wipe with light pressure. For textured trim, use a soft brush to work the cleaner into the grain, then wipe away the residue. Avoid silicone-based dressings on the steering wheel or pedals, as they can make surfaces slippery.
- Use a separate microfiber towel for dirty lower panels
- Wipe down the door sills and lower trim
- Dry all surfaces with a clean towel
- Spray cleaner directly onto screens or touchscreens
- Use ammonia-based glass cleaner on tinted windows
- Soak the headliner with excess liquid
Headliner Cleaning Without Watermarks
The headliner is one of the most delicate surfaces in a car. The fabric is glued to a backing board, and too much moisture can cause it to sag. Use a lightly dampened microfiber towel with a small amount of upholstery cleaner, and blot rather than scrub. Work in one direction and let it air dry completely before closing the doors.
Step 4: Neutralize Odors at the Source, Don’t Just Mask Them
Fragrance sprays and air fresheners may make the cabin smell better temporarily, but they don’t eliminate the source. True odor neutralization changes the chemical structure of the odor-causing compounds or traps them so they can’t reach your nose.
How Odor Neutralizers Actually Work
Most commercial neutralizers use one of three mechanisms: encapsulation, oxidation, or molecular bonding. Encapsulating products surround odor molecules in a polymer that dries into a powder you vacuum away. Oxidizing sprays like hydrogen peroxide-based formulas break down the odor at a chemical level. Molecular neutralizers, including some enzyme blends, bind to odor particles and change their structure so they no longer register as a smell.
Activated Charcoal, Ozone Generators, and When to Use Them
Activated charcoal bags are a passive, low-maintenance option for continuous odor absorption. They work best in small spaces like cup holders or under seats, but they need to be recharged in direct sunlight every few weeks. Ozone generators are a stronger tool: they release ozone gas that oxidizes odor molecules throughout the cabin. Ozone is effective for smoke and mildew smells, but it’s unsafe to breathe, and the car must be completely empty and ventilated afterward. Never run an ozone generator while anyone or any pet is inside.
Step 5: Deodorize the Cabin Air and HVAC System
If the vents blow musty air when you turn on the fan, the odor is coming from the HVAC system, not the upholstery. Moisture that condenses on the evaporator coil can grow bacteria and mold, which produces that sour, musty smell every time you start the car.
Why Cabin Air Filters Trap Odors
The cabin air filter sits between the outside air intake and the HVAC blower. Over time, it collects dust, pollen, and organic debris that can harbor mold. A clogged or damp filter reduces airflow and can make odor problems worse. Replacing it on the schedule in your owner’s manual is one of the cheapest and most effective ways to keep the cabin smelling fresh.
Ventilation and Safety: What Not to Spray Into the Vents
Do not spray liquid cleaner directly into the vents. The liquid can run into the blower motor or electrical connections and cause damage. Instead, use a dedicated HVAC fogger or a foaming vent cleaner that’s designed for this purpose. If you use a spray, aim it at the vent intake while the fan runs on low, and keep the recirculation mode off during treatment.
Maintenance: Keeping the Interior Odor-Free
Once you’ve removed the odor, the goal is to keep it from coming back. A few small habits make a big difference in how long the fresh smell lasts.
Weekly Habits That Prevent Odor Build-Up
Remove trash and food wrappers after every trip. Take out floor mats and shake them off weekly to remove dirt and moisture. Wipe down the cup holders and door pockets with a damp microfiber towel to catch spills before they dry. If you park outside, crack a window slightly on warm days to let humidity escape. If you have leather seats, regular conditioning helps prevent cracking that traps odors, and choosing the right seat covers can protect the original upholstery from spills and wear.
When to Re-Treat and How to Spot Recurring Sources
If the smell returns within a few days, the source wasn’t fully removed. Check for hidden spill areas like under the seat rails, behind the pedals, or under the carpet near the door sills. A blacklight can help you spot dried organic stains like pet urine or soda that are invisible in normal light. Re-treat those areas with an enzyme cleaner and allow extra drying time.
When to Call a Professional vs. DIY
Most odor problems can be solved at home with the right supplies and a few hours of work. But some situations call for professional equipment that most DIYers don’t have access to.
Cost Comparison: DIY Supplies vs. Professional Detailing
A basic DIY kit — upholstery cleaner, enzyme spray, microfiber towels, and baking soda — typically costs between $30 and $60. A professional interior detail that includes shampooing, steam cleaning, and an ozone treatment usually runs between $150 and $400 depending on the vehicle size and the severity of the odor. For deeply embedded smells or HVAC-related odors, professional extraction equipment often delivers better results in less time.
What a Professional Detailer Can Do That You Can’t
Professional detailers use truck-mounted extractors that operate at much higher suction power than consumer wet-dry vacuums, which means they can pull more moisture and odor-causing residue out of deep carpet padding. They also have access to commercial-grade ozone machines and thermal foggers that penetrate the HVAC system. If you’ve already tried DIY cleaning and the smell persists, a professional treatment is usually the next step.
- Best use case: Home detailing for common food, smoke, and mildew odors
- Main strength: Focuses on source removal and neutralization rather than masking
- Main limitation: Stubborn odors may require professional extraction or ozone treatment
- Next verification step: Check your owner’s manual for cabin air filter replacement intervals