How to Clean Rubber Car Floor Mats for a Showroom Finish

Remove the mats, rinse off loose grit, scrub with a pH-neutral cleaner and a soft brush, then rinse and dry completely. Reinstall on the factory retention points and confirm the driver-side mat can’t reach the pedals.
Knowing how to clean rubber car floor mats the right way is one of the quickest upgrades you can make to a tired interior, and it takes less than an hour once you have the right supplies. Unlike carpet, rubber doesn’t hide dirt in its fibers — grime sits on the surface, so the correct cleaner, brush, and drying routine make the difference between mats that look factory-new and ones that turn sticky, faded, or slippery.
- Material matters: Rubber, TPE, and thermoplastic mats tolerate different cleaners and dressings.
- Use mild products: pH-neutral soap and a soft brush clean most mats without stripping rubber.
- Dry before reinstalling: Trapped moisture causes mildew and odors.
- Safety first: Always re-engage hooks and clips, then check pedal clearance.
- Maintain regularly: A quick rinse weekly and a deep clean monthly keeps mats looking new.
Why Rubber Floor Mats Need a Different Cleaning Routine Than Carpet
Carpet mats trap dust and moisture deep in the pile, so they need shampooing, extraction, and long drying times. Rubber mats are non-porous: they repel water but hold onto oils, tire residue, and cleaner buildup on the surface. That’s why a carpet-focused routine — heavy shampoo, steam, or fabric sprays — won’t do much for rubber and can actually leave a film behind.
Rubber also reacts to chemicals differently than fabric. Strong solvents, petroleum-based degreasers, and high-alkaline cleaners can strip the oils that keep rubber flexible, leaving it brittle, chalky, or discolored. Understanding what your mat is actually made of is the first step toward cleaning it safely.
Rubber vs. TPE vs. Thermoplastic: Know Your Mat’s Material
Not every “rubber” mat is actually rubber. Natural and synthetic rubber mats are heavy, flexible, and grippy, with excellent all-weather performance. TPE (thermoplastic elastomer) mats are lighter, often odor-free, and more eco-friendly to produce. Thermoplastic mats, including PVC and TPO blends, sit somewhere in between and can vary widely in flexibility and chemical resistance.
For cleaning purposes, the difference matters: TPE and some thermoplastics can be more sensitive to solvent-based dressings and high-heat drying than natural rubber. When in doubt, check the manufacturer’s care label or website before applying any product.
Three Common Mistakes That Ruin Rubber Mats
- Rinse mats thoroughly before and after cleaning to remove loose grit
- Use a pH-neutral or mild cleaner with a soft brush
- Dry mats completely and reinstall them on factory retention points
- Use solvent-based degreasers, bleach, or undiluted all-purpose cleaners on rubber
- Coat the driver mat in thick silicone dressing that turns slippery
- Reinstall wet mats or let them sit in direct sun for hours
These three mistakes — harsh chemicals, over-dressing, and improper drying — account for most of the sticky, shiny, or cracked mats you see in older cars. The good news is that all three are easy to avoid once you build a consistent routine.
How to Clean Rubber Car Floor Mats in Six Steps

The process itself is simple. What separates a good result from a great one is the order of operations and the time you give each step.
Supplies You’ll Need (and What to Avoid)
Avoid wire brushes, abrasive pads, and harsh household cleaners. Bleach, ammonia, and citrus or solvent-based degreasers can all damage rubber over time, even when they cut through grease quickly.
The Six-Step Cleaning Process
Take the mats out of the car and shake or tap them to dislodge dirt, gravel, and sand. This prevents scratching the surface during the wet cleaning stage.
Use a hose or pressure washer on a wide fan setting to wash away loose grime. Avoid holding a pressure washer nozzle too close, since concentrated spray can etch softer rubber.
Mix a pH-neutral soap with warm water, apply it with a soft brush, and work the surface in overlapping passes. Pay extra attention to heel wells and channel grooves where dirt collects.
After scrubbing, rinse again until the water runs clear. Then dry with a microfiber towel or let the mats air dry completely — ideally out of direct sunlight. Once dry, reinstall them and confirm every hook, clip, and anti-slip backing is engaged.
Drying and Reinstallation: The Final Safety Check
Moisture trapped between the mat and the carpet can lead to mildew and a musty smell, so drying isn’t optional. If you’re in a hurry, use a clean towel to remove most of the water and then let the mats finish drying indoors. Before reinstalling, check that the driver-side mat isn’t curled at the edges and that it sits flat against the floor.
Choosing the Right Cleaner: pH-Neutral vs. Degreasers vs. DIY Solutions
Most rubber mats only need a pH-neutral cleaner. These are gentle enough for regular use and won’t strip the oils that keep rubber supple. For heavier oil and grease buildup, a diluted degreaser can work — but it should be rinsed off completely and used sparingly.
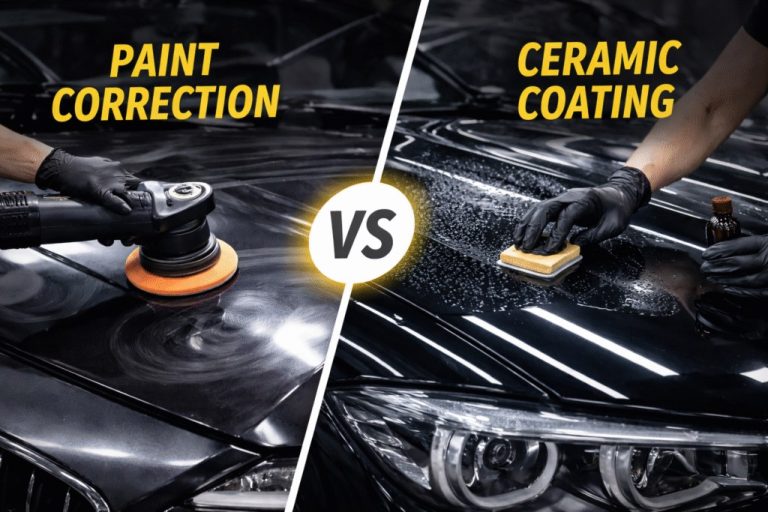
DIY solutions like a few drops of mild dish soap in warm water are effective for routine cleaning. Skip recipes that call for bleach, ammonia, or undiluted vinegar; they can discolor or weaken rubber. The same logic applies to your paint care — if your car isn’t ceramic coated, choosing a gentle soap designed for that situation, like the options covered in our guide to the best car wash soap for non ceramic coated cars, is smarter than reaching for a harsh all-purpose cleaner.
What’s Safe for Rubber (and What Will Damage It)
Safe: pH-neutral car wash soap, mild dish soap, water-based rubber and vinyl cleaners, and diluted all-purpose cleaners labeled safe for rubber. Damaging: bleach, ammonia, brake cleaner, gasoline, acetone, and undiluted citrus degreasers. If a product label warns against use on rubber, believe it.
Dwell Time, Temperature, and Ventilation: Getting the Chemistry Right
Let a cleaner sit for 30 seconds to a minute so it can break down grime, but don’t let it dry on the mat. Dried cleaner leaves a chalky residue that attracts dirt. Work in a shaded, well-ventilated area — hot surfaces cause cleaners and dressings to evaporate unevenly, and strong chemicals need airflow.
How to Remove Stubborn Stains, Odors, and Cleaner Residue

Oil, Mud, Road Salt, and Mildew: Targeted Fixes
Oil and grease: apply a small amount of diluted degreaser, agitate with a soft brush, and rinse thoroughly. Mud: let it dry completely, brush off the bulk, then clean normally. Road salt: rinse with plain water first, then use a mild cleaner; salt left on rubber can dry it out over time. Mildew: wash with a mild soap-and-water solution, then dry in indirect sunlight; if the smell persists, a light vinegar-and-water wipe can help neutralize it.
Eliminating Odor and Preventing Residue Buildup
Most mat odors come from trapped moisture or old dressing, not the rubber itself. Cleaning and drying thoroughly solves the problem in most cases. To prevent residue buildup, use less dressing than you think you need and strip old layers every few months with warm soapy water.
How to Get a Showroom Finish: Dressings, Sealants, and a Maintenance Schedule
Silicone vs. Water-Based Dressings: Pros and Cons
- Water-based dressings give a natural, matte finish and are less slippery
- Water-based products are safer for TPE and thermoplastic mats
- Regular light application keeps rubber looking fresh without buildup
- Silicone dressings can turn slick and dangerous on the driver side
- Heavy dressings attract dust and require more frequent cleaning
- Solvent-heavy silicone can dry out or discolor some rubber blends
If you want a glossy showroom look, apply a thin layer of a water-based dressing and buff off the excess. Avoid silicone-heavy products on the driver-side mat, where pedal grip matters most.
How Often to Clean and Condition Rubber Mats
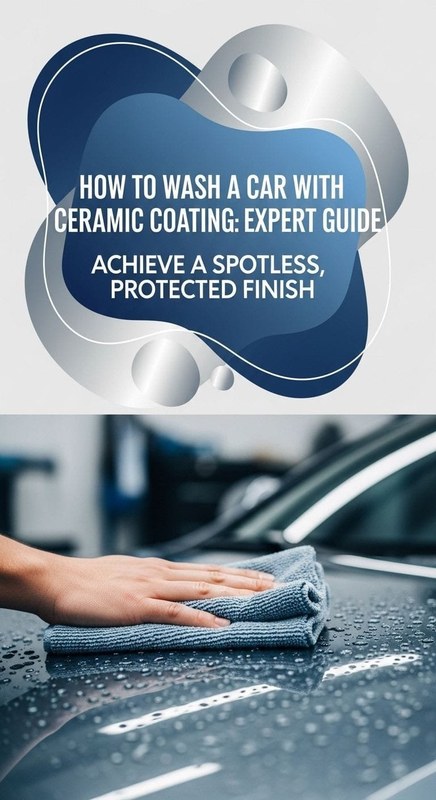
A quick rinse and wipe-down every one to two weeks keeps daily grime from building up. A full deep clean — the six-step process above — once a month or after heavy weather is enough for most drivers. If you’re already doing a full exterior wash, pair the mat routine with the right wash technique; for example, how to wash a car with ceramic coating explains how to protect paint while you’re maintaining the rest of the car.
Safety After Cleaning: Retention, Pedal Clearance, and Proper Fit
After cleaning, always confirm that the driver-side mat is secured by its factory hooks or clips and that it cannot slide forward under the pedals. Never stack a rubber mat on top of the factory carpet mat, and never install a mat that blocks the accelerator, brake, or clutch.
Re-Engaging Hooks, Clips, and Anti-Slip Backings
Cleaning is the most common time for mats to get reinstalled incorrectly. Check that every retention point is snapped back into place and that the anti-slip backing sits flush against the carpet. A mat that shifts even an inch can interfere with the pedals.
Pedal Clearance: The Rule That Can Save Your Life
Before you drive, press each pedal to the floor and confirm there’s no interference. If the mat crowds the pedal area, remove it and reinstall it properly — or replace it if it no longer fits. This check takes five seconds and is the most important step in the entire process.
Exact Fit vs. Universal Fit: How Mat Design Affects Cleaning, Coverage, and Longevity
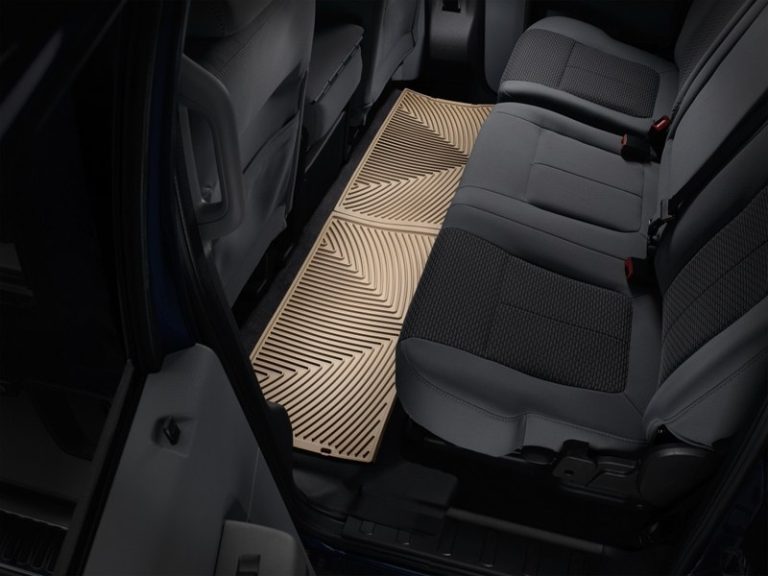
Exact-fit mats are molded to a specific vehicle, so they cover the floor more completely and stay put better. Their deep channels and raised edges are great at containing water and mud, but those same channels need extra rinsing to flush out trapped grit. Universal mats are cheaper and easier to swap between vehicles, but they can curl at the edges, shift during driving, and leave parts of the carpet exposed.
From a cleaning standpoint, the design matters more than the price. Deep-channel mats take longer to dry and need a brush with stiff enough bristles to reach the bottom of the grooves. Flat mats are easier to clean but offer less protection against spills.
When to Replace Rubber Floor Mats: Durability, Cost, and Value
Rubber mats are built to last, but they don’t last forever. Cracks, splits, and warping are the clearest signs it’s time to replace them — a cracked mat can let water and salt reach the carpet underneath, defeating the purpose. If the retention points are broken or the mat no longer lies flat, replacement is safer than a temporary fix.
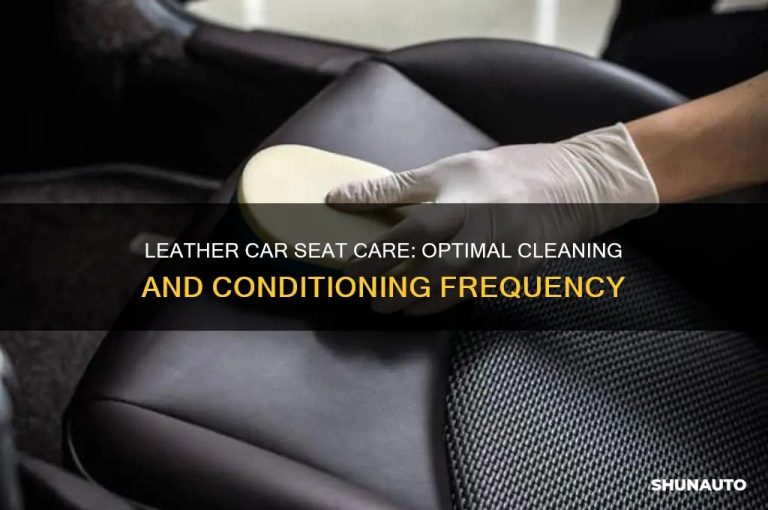
Replacing mats is one of the cheapest interior upgrades you can make, and it protects the resale value of your car far more than the cost suggests. While you’re refreshing the cabin, consider the seats too — our guide on how to install leather seat covers covers the fitment and safety considerations that matter when changing interior materials.
- Best use case: Routine maintenance for rubber, TPE, and thermoplastic mats in daily-driven vehicles
- Main strength: A simple six-step process that removes grime without damaging the material
- Main limitation: Stubborn oil and mildew may require multiple passes or a dedicated degreaser
- Next verification step: Check your mat manufacturer’s care instructions before using any dressing or strong cleaner