How Often to Condition Leather Car Seats to Prevent Cracks

Condition your leather car seats every 8 to 12 weeks as a baseline, or every 6 to 8 weeks if you live in a hot, sunny climate. Clean the leather first, apply a thin coat, and buff well to keep it flexible and prevent cracks.
If you’re wondering how often should you condition leather car seats to prevent cracks, the practical answer for most US drivers is every two to three months, or about four times a year. That baseline shifts with your climate, how much sun your interior sees, and whether the car is a daily driver or a weekend vehicle.
- Baseline schedule: Condition every 8-12 weeks, or every 6-8 weeks in hot, high-UV climates.
- Clean first: Conditioner can’t penetrate through dirt and body oils, so always use a pH-neutral leather.
- Read the signs: Dry texture, lighter creases, stiffness, and faint hairline lines mean it’s time to condition.
- Match the product: Use a dedicated automotive conditioner; avoid silicone-heavy and alcohol-based formulas.
- Safety matters: Work in a ventilated garage, keep product off controls and perforated holes, and let.
How Often Should You Condition Leather Car Seats? The Straight Answer
Start with a simple schedule: condition your leather seats every 8 to 12 weeks. That works out to roughly four sessions per year, which is enough to keep the hide fed without leaving a greasy buildup.
If you live in a hot, dry, or high-UV state like Arizona, Nevada, Colorado, or Texas, tighten that window to every 6 to 8 weeks during summer. If you park in a garage, drive less than average, or have a coated leather that resists moisture loss, you can stretch it to every four months.
The goal isn’t to hit a perfect number. It’s to keep the leather from reaching the stiff, dry state that leads to cracking. Once you learn to read the leather, the calendar becomes a backup rather than the boss.
Why Leather Car Seats Crack and How Conditioning Prevents It
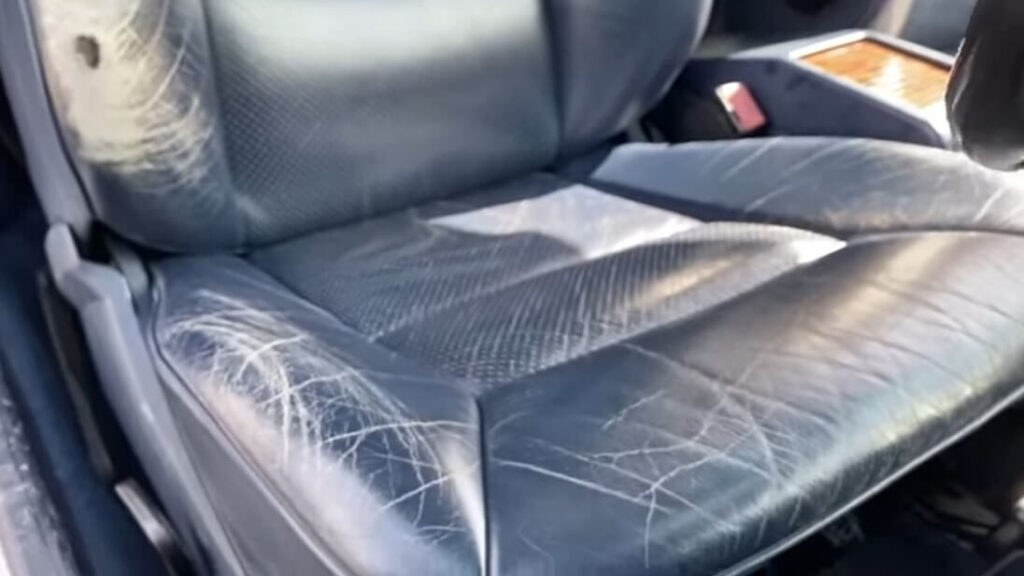
Leather is tanned animal hide, not a synthetic film. During tanning, oils, waxes, and other conditioning agents are worked into the fibers to keep them supple. Over time, heat, friction, and UV light break those oils down, and the hide slowly dries out. As it dries, the fibers lose flexibility, and the surface develops tiny fissures that grow into visible cracks.
Conditioning works by replacing some of those lost oils and adding a protective layer that slows moisture evaporation. It doesn’t reverse damage that’s already there, but it can stop small dry patches from turning into permanent cracks. For extra protection beyond conditioning, seat covers can shield leather from UV and wear, though they’re not a substitute for regular care.
The Role of Oils and Moisture in Leather Flexibility
Leather fibers are held together by natural fats and oils. When those oils deplete, the fibers stiffen and rub against each other, which accelerates wear at the creases and bolsters. Conditioning replenishes those oils and helps the leather hold a small amount of moisture, keeping the material flexible and less prone to tearing along stress lines.
How UV Exposure Accelerates Drying and Cracking
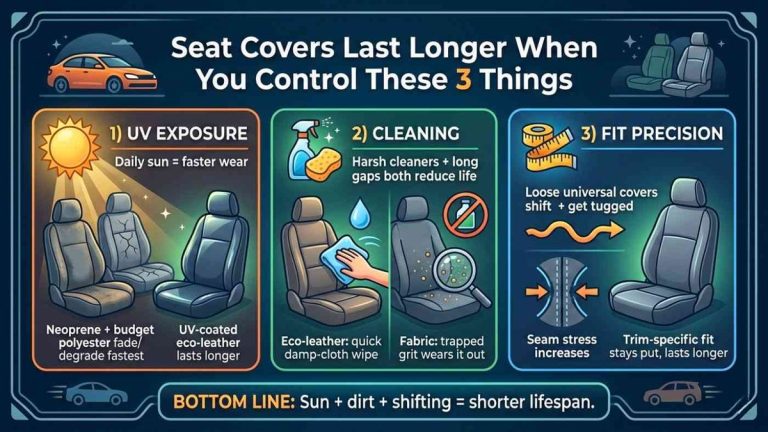
Ultraviolet light is the single biggest enemy of automotive leather. UV rays break down tanning agents and dry out the surface layer faster than normal aging. That’s why the driver’s seat, which gets the most sun through the side window, often shows cracking before the passenger seat does.
If you park outside in a sunny region, consider a windshield sun shade, legal window tinting, and a conditioner with UV protectants. Even a simple habit of parking in the shade can meaningfully slow the drying process.
Factors That Change Your Conditioning Schedule
No single interval fits every car. Use the table below as a starting point, then adjust based on the three factors that matter most: climate, usage, and leather type.
| Scenario | Recommended Interval | Key Consideration |
|---|---|---|
| Hot, dry climate / frequent sun | Every 6-8 weeks | UV and heat dry leather fastest |
| Temperate climate / garage parking | Every 10-12 weeks | Less stress means longer intervals |
| Daily driver / high mileage | Every 8 weeks | Friction from getting in and out |
| Weekend or seasonal vehicle | Every 4-6 months | Still needs care before storage |
Climate and Sun Exposure: Hot, Dry, and High-UV Regions
In states with intense sun and low humidity, leather can look dry within weeks of a conditioning session. Heat accelerates oil evaporation, and UV breaks down the surface finish. If you live in the Southwest, plan on the aggressive end of the schedule. In cooler, more humid regions like the Pacific Northwest, you can often stretch intervals without noticing any stiffness.
Seat Usage: Daily Driver vs. Weekend Vehicle
A daily driver’s seats take constant abuse: friction from entering and exiting, sweat, body oils, and temperature swings. Those seats need conditioning more often than a weekend car that sits in a garage. For a weekend vehicle, the bigger risk is long periods of storage, so condition it before putting it away and again when you bring it out.
Leather Type and Finish: Aniline, Pigmented, and Coated Leather
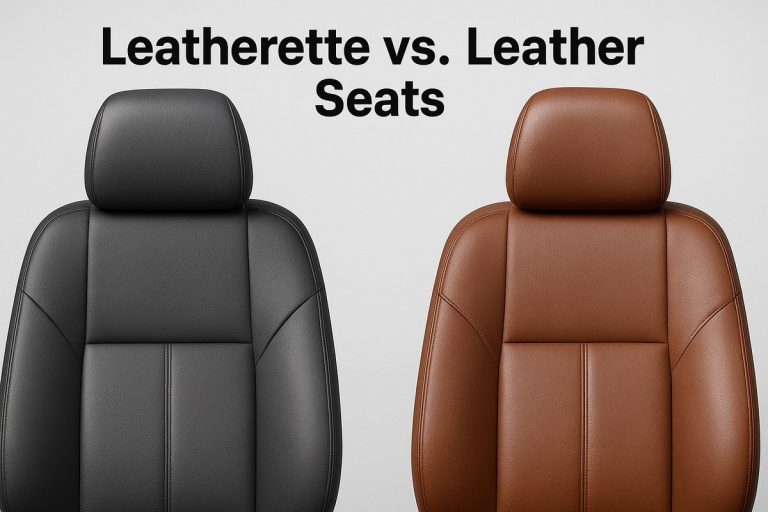
Not all “leather” seats are the same. Aniline leather has little to no protective coating, so it absorbs conditioner quickly and needs more frequent care. Pigmented leather has a colored coating on top, which makes it more durable but also less absorbent. Coated leathers, including many factory “leather” interiors, resist penetration, so a light application is enough and over-conditioning can leave residue.
If you’re comparing leather to cloth for your next car, keep in mind that leather requires ongoing maintenance that cloth doesn’t, but it also resists stains and holds its appearance longer.
Signs Your Leather Seats Need Conditioning Right Now
Don’t wait for visible cracks. Learn to read these early warning signs:
- Dry or rough texture: Run your hand across the seat. If it feels papery or slightly tacky rather than smooth, it’s drying out.
- Lighter creases: The folds near the bolsters and seat base often lose color first as the finish stretches and dries.
- Stiffness: If the leather feels board-like when you press on it, the fibers have lost flexibility.
- Faint hairline lines: Small micro-cracks at the edges of creases are the last warning before permanent damage.
- Squeaking: Dry leather rubbing against itself or the seat frame can produce a creaking sound when you shift weight.
If you notice any of these signs, condition the seats within the next week or two. Once cracks are deep enough to catch a fingernail, no conditioner will close them.
How to Condition Leather Car Seats the Right Way
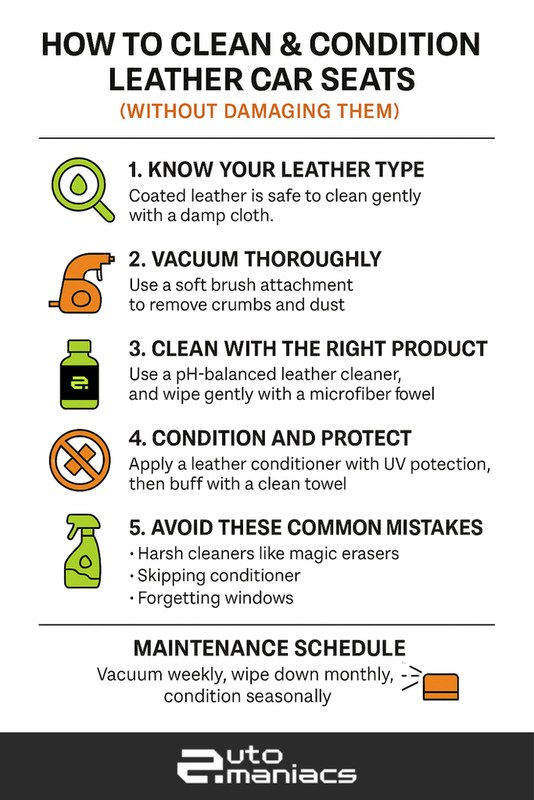
Conditioning is a three-step process: clean, apply, and buff. Skipping the cleaning step is the most common mistake because conditioner can’t penetrate through dirt, body oils, and dust.
Use a pH-neutral leather cleaner and a soft microfiber towel. Wipe the seats, including bolsters and crevices, and let them dry completely before conditioning.
Use a foam applicator pad and apply a thin, even layer. Work it into the leather with light circular motions, covering one seat section at a time.
Allow the conditioner to sit for the time stated on the product label, usually 10-20 minutes. Buff off any excess with a clean, dry microfiber towel so the surface isn’t greasy.
Step 1: Clean the Surface Before Conditioning
Dirt and body oils form a barrier that conditioner can’t easily pass through. A dedicated leather cleaner, not an all-purpose household spray, is the right choice. Spray it on a microfiber towel rather than directly on the seat to avoid soaking the stitching, and let the leather air-dry for at least 15 minutes before moving on.
Step 2: Apply Conditioner Evenly and Let It Dwell
Less is more. A thin, even coat is easier to buff and less likely to leave residue on your clothes. Work section by section so the conditioner doesn’t dry before you can spread it. The dwell time matters: too short and the leather doesn’t absorb enough; too long and it can leave a sticky film.
Step 3: Buff and Allow Proper Cure Time
After the dwell period, buff with a clean microfiber towel until the surface feels smooth and has no visible sheen. Let the seats cure for a few hours before you sit on them. If you have heated seats, wait at least a day before using them, since heat can soften and redistribute the conditioner before it’s fully absorbed.
Work in a well-ventilated area, especially if you’re conditioning inside a garage. Many leather conditioners contain solvents that produce fumes. Avoid getting conditioner on seat controls, heating elements, or wiring, and never apply it to the steering wheel while driving. If your seats are perforated, use a light hand and a foam applicator to avoid pushing product into the holes.
Choosing the Right Leather Conditioner for Your Interior
You don’t need the most expensive product, but you do need the right type. The key is matching the product to your leather finish and avoiding ingredients that can soften the leather too much or leave a greasy film.
Conditioner vs. Cleaner vs. Protectant: What Each Product Does
| Product | Purpose | When to Use |
|---|---|---|
| Leather cleaner | Removes dirt, oils, and grime | Every 2-3 months, before conditioning |
| Leather conditioner | Replenishes oils and flexibility | Every 8-12 weeks |
| Leather protectant | Adds UV and stain resistance | After conditioning or as a standalone |
Some products combine cleaner and conditioner, but separate bottles usually give better results because cleaning and conditioning have different goals. A cleaner should strip, while a conditioner should add.
Ingredients to Look For and Avoid in a Conditioner
Look for conditioners that contain natural oils and waxes such as lanolin, neatsfoot oil, mink oil, or beeswax, which are well-established leather-care ingredients. Avoid products heavy in silicone or petroleum distillates, which can create a shiny film that attracts dust and may not actually penetrate the leather. Also avoid alcohol-based products, which can dry the leather further.
If you’re unsure which conditioner suits your interior, check the owner’s manual first. Many automakers publish specific leather-care recommendations, and some warn against certain ingredients that can interact with the factory finish.
Surface Compatibility: What Works on Seats, Trim, and Perforated Leather
Most conditioners are safe for seats and leather trim, but perforated leather requires extra caution. Product can seep into the holes and stain the foam underneath or interfere with ventilated seat airflow. Use a foam applicator and apply lightly, or choose a product labeled safe for perforated leather. Avoid getting conditioner on contrast stitching, which can darken or discolor the thread.
Conditioning Mistakes That Do More Harm Than Good
More frequent isn’t better. Over-conditioning can saturate the leather and leave a greasy residue that attracts dirt and makes the surface sticky. Under-conditioning is also a problem, but it’s less common than people think because most owners simply forget.
- Clean before you condition
- Use a pH-neutral leather cleaner
- Apply thin coats and buff thoroughly
- Test any new product on a hidden area first
- Follow the label’s dwell and cure times
- Use household cleaners, bleach, or degreasers
- Condition dirty or wet leather
- Apply to a hot seat in direct sun
- Over-saturate perforated leather
- Ignore the owner’s manual recommendations
Another common mistake is assuming conditioner fixes existing cracks. It doesn’t. If your leather is already cracked, conditioning can soften the surrounding area and slow further damage, but the cracks themselves are permanent without professional repair or replacement.
If you’re considering seat covers to slow future wear, be aware that poorly fitted covers can trap heat and moisture against the leather, which may do more harm than good. A well-ventilated, properly fitted cover is a different story.
Build a Year-Round Leather Care Routine That Fits Your Budget
You don’t need a cabinet full of products. A basic kit with one leather cleaner, one conditioner, and a few microfiber towels is enough for a full year of care, and it costs less than a single professional interior detailing session.
A realistic yearly routine looks like this:
- Spring: Deep clean and condition after winter grime.
- Summer: Condition every 6-8 weeks if you park in the sun.
- Fall: Clean and condition before colder weather.
- Winter: Wipe seats monthly with a damp microfiber towel; condition if the interior feels dry from heater use.
Keep it simple. The best routine is the one you’ll actually follow, and consistency matters more than the specific product you pick.
Condition your leather car seats every 8 to 12 weeks as a baseline, then adjust for sun, climate, and usage. Clean before conditioning, apply thin coats, buff well, and watch for early signs of dryness. If you stay consistent, you can keep factory leather looking and feeling good for years without expensive repairs.