How to Clean Perforated Leather Car Seats Safely

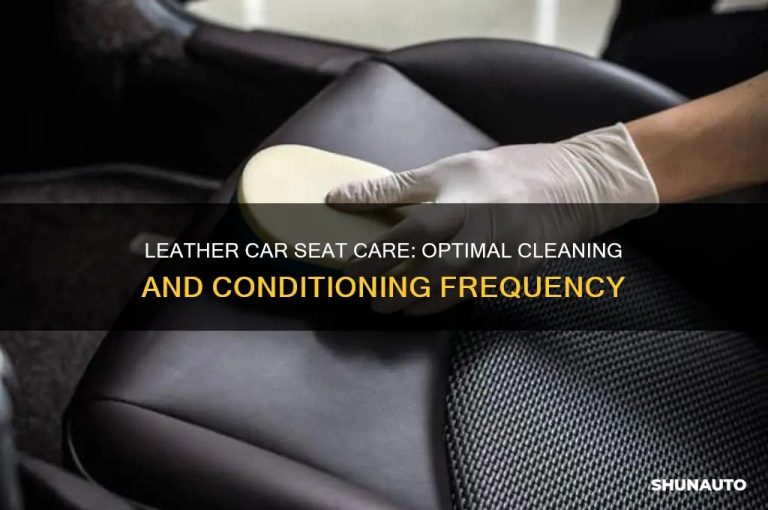
Vacuum the seat first, then work a pH-balanced leather cleaner into the surface with a soft brush and wipe it away with a clean microfiber towel. Let the leather dry completely and condition lightly so the perforations stay open.
Learning how to clean perforated leather car seats correctly matters because those tiny holes collect dust, sweat, and debris that smooth leather never has to deal with. The right method keeps the surface looking fresh, the pores open, and the seat comfortable for years.
- Best method: Vacuum first, then use a pH-balanced leather cleaner with a soft brush, and wipe.
- Right products: Choose water-based, pH-balanced leather cleaners and lightweight conditioners that will not clog the perforations.
- Safety first: Avoid oversaturation, harsh chemicals, and heat drying, especially on heated or ventilated seats with.
- Maintenance: Vacuum weekly, deep clean every 2-3 months, and condition lightly every 4-6 months to.
- When to call a pro: For deep staining, odors, mold, or luxury interiors, professional detailing is worth the cost.
The Short Answer: How to Clean Perforated Leather Car Seats Safely
The short version: vacuum the seats first, work a pH-balanced leather cleaner into the surface with a soft brush, wipe away the loosened grime with a clean microfiber towel, and let the leather dry completely before conditioning. Avoid soaking the seat, never use harsh degreasers or stiff brushes, and keep heavy creams away from the perforations so airflow stays open.
If your seats are heated or ventilated, take extra care around the perforated zones. The holes are not just decorative; they route air from the seat’s internal fans. Clogged pores mean weaker ventilation and a seat that feels less comfortable in summer. The full step-by-step process below covers exactly how to handle them.
Why Perforated Leather Is Different: Material, Construction, and Vulnerabilities
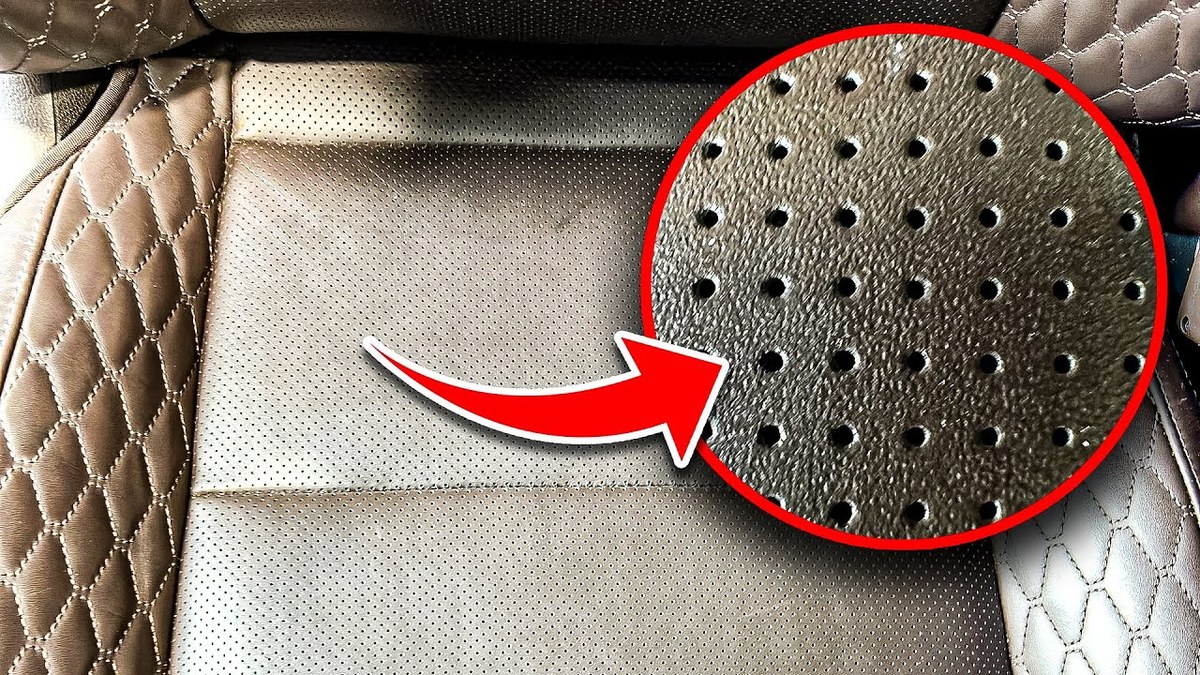
Perforated leather is real leather that has been punched with hundreds of small holes, usually in a repeating pattern across the seating surface and bolsters. Automakers use it for two main reasons: breathability and support for heated and ventilated seat systems.
That construction creates three problems smooth leather does not have:
- Dirt gets trapped in the holes. Dust, skin oils, food crumbs, and pet hair settle into the perforations and are hard to remove with a simple wipe.
- The holes are structural weak points. The perforated area has less material, so it can tear or stretch if you scrub aggressively or use a stiff brush.
- Liquids can pass through. Overspray or over-wetting can soak into the foam padding beneath the leather, which is slow to dry and can lead to odor or mildew.
Ventilated seats add another layer of concern. When the fans run, they pull air through the perforations, which can drag fine dust deeper into the seat structure. That is why regular vacuuming matters more here than on smooth leather.
Before cleaning, check your owner’s manual for seat-specific care instructions. Heated and ventilated seats contain electrical elements, wiring, and fans; avoid saturating the seat with liquid near those components. If you are unsure about a cleaner, test it on a hidden area first.
Choosing the Right Cleaner and Tools for Perforated Leather
You do not need a shelf full of specialty products. You need a few things that are proven safe for leather and gentle enough for the perforations.
Cleaners That Are Safe for Perforated Leather
Look for a dedicated leather cleaner that is pH-balanced, water-based, low-foaming, and free of harsh solvents, bleach, and high alcohol content. A label that mentions “perforated leather” or “ventilated seats” is a good sign it was formulated with the holes in mind.
Avoid all-purpose cleaners, degreasers, dish soap, saddle soap, and alcohol-based wipes. They can strip the protective finish on the leather, dry it out, or leave residue that collects in the pores.
When in doubt, check the label for the words “pH-balanced.” Many quality leather cleaners sit near a neutral pH, which means they are less likely to strip the factory finish. If the label does not say, contact the manufacturer before using it on perforated leather.
Brushes, Towels, and Tools That Won’t Damage the Pores
Your tools matter as much as your cleaner. Here is what works:
- Soft boar’s hair brush or a detailing brush with soft, flexible bristles. This is the best tool for loosening dirt from the perforations without scratching the leather.
- Plush, lint-free microfiber towels. Use one for applying cleaner and a fresh one for wiping.
- A vacuum with a soft brush attachment. This removes loose surface dirt before you introduce any liquid.
- Optional: a low-pressure air blower or compressed air canister to dislodge stubborn dust from the holes.
Skip stiff nylon brushes, toothbrushes, and terry cloth towels. They can scratch the leather’s surface and fray the edges of the perforations.
Step-by-Step: How to Clean Perforated Leather Car Seats
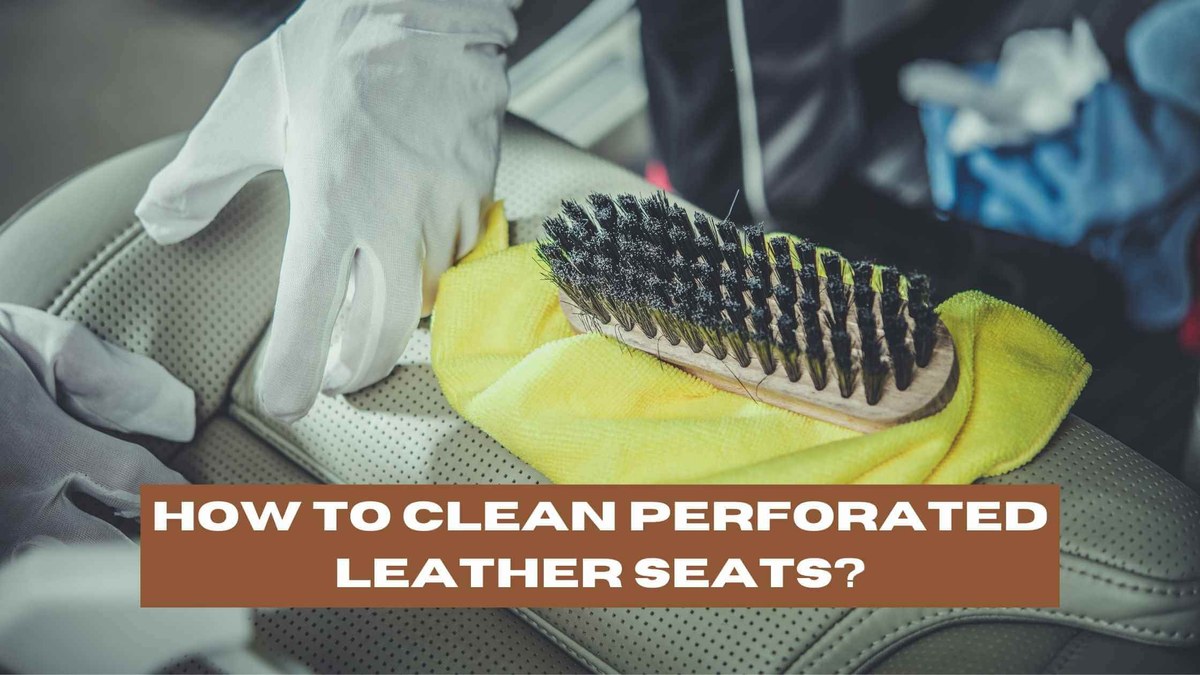
Work in a shaded, well-ventilated area, and give yourself about 30 to 45 minutes for a full cleaning and drying cycle.
Step 1: Vacuum and Loosen Dirt From the Perforations
Start with the vacuum. Use the soft brush attachment and go over the entire seat, paying extra attention to the perforated areas. Vacuum in multiple directions so you catch debris sitting at different angles inside the holes.
If you have an air blower, use it here too. A few passes with low-pressure air can dislodge dust that the vacuum cannot reach. Just keep the nozzle a few inches away so you do not drive debris deeper.
Step 2: Apply Cleaner and Agitate Gently
Spray the cleaner onto a microfiber towel or a soft brush, not directly onto the seat. This prevents oversaturation and keeps liquid from running into the perforations and down into the foam.
Work the cleaner into the leather using small circular motions with the soft brush. The goal is to lift grime from the pores, not to scrub the surface. Let the cleaner sit for the dwell time listed on the product label, usually 30 seconds to a few minutes, then move to the next step.
If your seats are especially dirty, work in small sections — one seat cushion or one backrest at a time — rather than coating the whole seat. This keeps the cleaner from drying out before you can wipe it away, which can leave residue in the perforations.
Step 3: Wipe Away Dirt and Extract Grime From the Holes
Use a clean, dry microfiber towel to wipe the seat in straight, overlapping strokes. This picks up the dissolved dirt and cleaner. Flip the towel frequently so you are always wiping with a clean side.
For stubborn spots, go back with the soft brush and a little more cleaner, then wipe again. You can also use a gentle pat-and-lift motion with the towel over the perforated areas to help pull grime out of the holes without pressing it deeper.
Step 4: Dry Thoroughly Before Use
Let the seat air dry completely before you sit on it or apply any conditioner. This usually takes 20 to 40 minutes in a well-ventilated area. Do not use a heat gun, hair dryer, or direct sunlight to speed things up — heat can dry out and crack leather.
If the seat still feels damp after an hour, you may have oversaturated it. Blot with a dry towel and let it air dry longer. Never use the seat’s own heating element to dry it.
Conditioning and Protecting Perforated Leather Without Clogging the Pores
Once the leather is fully dry, you can condition it. Conditioning replaces natural oils that cleaning can strip, keeping the leather soft and flexible. But on perforated seats, less is more.
Choose a conditioner that is lightweight and fast-absorbing, free of heavy waxes or petroleum-based ingredients, and labeled safe for perforated or ventilated leather. Apply a small amount to a microfiber towel and work it into the leather in circular motions. Let it absorb for the time listed on the label, then buff off any excess with a clean towel. If you can see residue sitting in the perforations, you have used too much.
Skipping conditioner entirely is also fine if you clean infrequently. The factory finish on most modern leather seats already provides a degree of protection, and over-conditioning can attract dust and leave a greasy feel. Some owners add seat covers for long-term protection, though whether they actually prevent cracking depends on fit and material.
Common Mistakes and Safety Limitations: What Not to Do
Even experienced owners make these mistakes. Here is what to avoid:
- Saturating the seat. Liquid that runs into the perforations can reach the foam padding and, in ventilated seats, the fan and wiring. Always apply cleaner to a towel or brush first.
- Using harsh chemicals. Degreasers, bleach, and high-alcohol cleaners can strip the leather’s finish and cause premature cracking.
- Scrubbing with stiff brushes. The perforated areas are more fragile than smooth leather. Aggressive scrubbing can stretch the holes or tear the surface.
- Conditioning too heavily. Excess conditioner sits in the pores, attracts dust, and blocks airflow.
- Drying with heat. Hair dryers and heat guns dry out the leather and can cause it to crack.
- Ignoring the owner’s manual. Some automakers have specific care instructions for their leather, especially in luxury or performance models.
- Vacuum before using any liquid cleaner
- Use a pH-balanced leather cleaner and soft brush
- Test any new product on a hidden area
- Let the seat dry fully before conditioning or use
- Soak the seat or spray cleaner directly into the perforations
- Use degreasers, saddle soap, or alcohol-based wipes
- Scrub with stiff brushes or terry cloth
- Use seat heat, a hair dryer, or direct sun to speed drying
One more consideration: if you are thinking about adding seat covers for long-term protection, make sure the cover does not trap moisture against the leather. Some covers can hold humidity against the seat surface, which over time can contribute to problems. If you already have covers installed, it is worth checking the condition of the leather underneath periodically. You can learn more about whether seat covers damage leather seats if you are weighing that option.
How Often to Clean Perforated Leather Seats: A Maintenance Schedule
A consistent routine prevents the deep cleaning from ever becoming a major project. Here is a practical schedule:
| Frequency | Action | Why It Matters |
|---|---|---|
| Weekly | Vacuum the seat surface, focusing on the perforations | Removes dust and debris before it settles into the holes |
| Monthly | Wipe down with a lightly damp microfiber towel | Removes surface oils and light grime between deep cleans |
| Every 2-3 months | Full clean with pH-balanced leather cleaner | Lifts embedded dirt and keeps the pores open |
| Every 4-6 months | Light conditioning | Maintains leather flexibility without clogging perforations |
Adjust the schedule based on your driving habits. Daily commuters, families with kids, and anyone who eats or drinks in the car should clean more often. If your seats have visible dirt in the holes or a dull, cloudy appearance, it is time for a full cleaning.
DIY vs. Professional Detailing: Cost, Value, and When to Call a Pro
For routine maintenance, DIY cleaning is the right choice for most owners. The process is straightforward, and the supplies — a good leather cleaner, a soft brush, and microfiber towels — are affordable and reusable. You also control the products that touch your seats, which matters if you have sensitive leather or want to avoid heavy conditioners.
Professional detailing makes sense when the job is beyond a basic cleaning. Consider hiring a pro if you are dealing with deep staining that does not respond to a home cleaning, lingering odors that suggest contamination in the foam padding, mold or mildew concerns, or a luxury interior where you would rather trust the work to a specialist.
Pricing for professional interior detailing varies widely by region, shop, and the level of service you choose. A basic interior detail is generally a modest investment, while a full deep clean with extraction equipment and leather restoration can cost significantly more. Get a written quote before committing, and ask what products the shop uses on perforated leather.
| Option | Best For | Key Consideration |
|---|---|---|
| DIY cleaning | Routine maintenance and light to moderate dirt | Requires the right products and a careful hand around perforations |
| Professional detailing | Heavy staining, odors, or delicate luxury interiors | Cost varies by region and package; confirm their leather-safe process |
If you are considering seat covers as an added layer of protection after a deep clean, make sure you understand the installation process and how it interacts with heated or ventilated seats. A properly installed cover can help, but a poorly fitted one can create its own problems.
The safest way to clean perforated leather is to vacuum first, use a pH-balanced leather cleaner with a soft brush, wipe away grime with a clean microfiber towel, and let the seat dry fully before conditioning lightly. Avoid oversaturation, harsh chemicals, and heavy creams, and stick to a regular maintenance schedule so the pores stay open and the leather stays healthy.