Leather Cleaner vs Conditioner for Car Seats: Which First?

Clean your leather seats first, then condition them. A cleaner removes dirt and oils, while a conditioner restores moisture and protection.
If you’re trying to decide between leather cleaner vs leather conditioner for car seats, the short answer is that you need both, in the right order. Cleaner removes dirt, body oils, and old buildup; conditioner restores moisture and flexibility after the surface is clean.
- Order matters: Always clean before conditioning to avoid trapping dirt in the leather.
- Know your material: Check if seats are genuine leather, leatherette, or vinyl before buying products.
- Apply in thin layers: Use small amounts and buff off excess to avoid sticky, greasy buildup.
- Frequency varies: Clean and condition every three months for daily drivers; adjust based on sun exposure.
- Match the product: Choose pH-balanced cleaners and conditioners with UV protection for your specific seat type.
Direct Answer: What to Know About leather cleaner vs leather conditioner for car seats
Leather cleaner and leather conditioner are not interchangeable. A cleaner is designed to break down and lift soil, dust, body oils, and old dressing from the surface of the seat. A conditioner is designed to soak into the leather, restore oils and flexibility, and leave a protective layer that helps resist future soiling.
The correct sequence is always clean first, condition second. Applying conditioner to dirty leather traps dirt beneath it, which can accelerate wear and make the surface feel sticky or dull. If your seats feel sticky, look shiny in the center, or seem dull, that is usually a sign they need cleaning before conditioning.
| Option | Best For | Key Consideration |
|---|---|---|
| Leather Cleaner | Removing dirt, body oils, stains, and old product buildup | Use first; never skip it before conditioning |
| Leather Conditioner | Restoring softness, flexibility, and a protective layer | Use only on clean, dry leather |
| All-in-One Cleaner/Conditioner | Light maintenance on well-maintained seats | Convenient, but not a substitute for deep cleaning |
Frequency matters more than product choice. A garage-kept car driven occasionally may only need conditioning every three to six months. A daily driver parked in the sun, or a vehicle with kids and pets, will need more frequent attention.
Fit, Compatibility, and Who It Suits
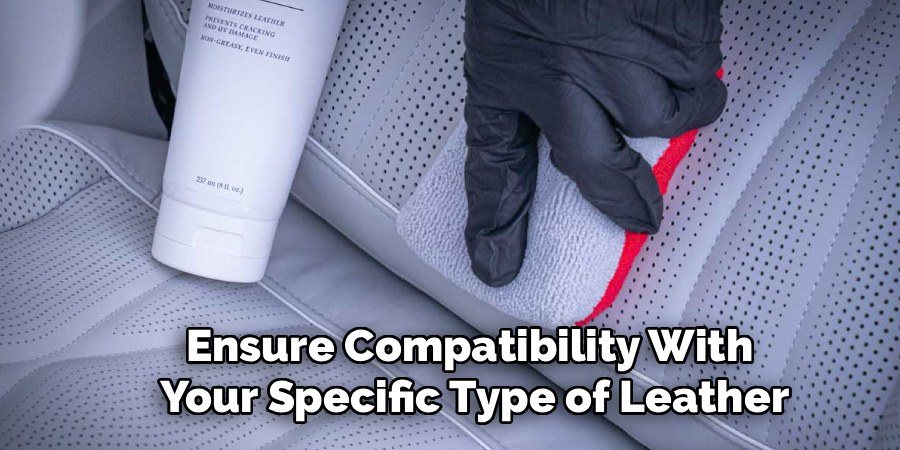
Before buying anything, you need to know what your seats are actually made of. Many vehicles labeled “leather” have leatherette, vinyl, or a blend. The center seating surface may be genuine leather while the bolsters and side panels are vinyl.
Check your owner’s manual or look for a tag on the seat. Products formulated for genuine leather may behave differently on synthetic surfaces, and some conditioners leave a greasy residue on vinyl or leatherette. If your seats are leatherette or vinyl, look for a product that explicitly states it is safe for both. Our guide on genuine leather vs leatherette seat covers explains why the material distinction matters for protection and care.
This routine suits almost any driver, but it matters most if you park outdoors, live in a hot or dry climate, have kids or pets in the car, or drive a vehicle with perforated, heated, or ventilated seats.
Verify your seat material before buying. Check the owner’s manual or seat tag for leather, leatherette, vinyl, or synthetic content. If your vehicle has heated or ventilated seats, confirm the product is safe for perforated leather and will not clog pores or affect airflow.
Materials, Construction, and Key Features
Leather cleaners generally fall into two categories: water-based and solvent-based. Water-based cleaners are gentler and better for light to moderate soiling. Solvent-based cleaners cut through heavy grease and buildup but can dry out leather if used too often.
Look for a pH-balanced formula. Leather is naturally slightly acidic, and a cleaner that is too alkaline can strip natural oils and leave the surface hard or brittle. Avoid household cleaners, degreasers, or products containing bleach, ammonia, or alcohol.
Leather conditioners typically contain oils, waxes, lanolin, or synthetic polymers. Oil-based conditioners penetrate deeper and suit dry, stiff leather. Wax-based or polymer-based products sit closer to the surface and provide a slicker finish with more protection against soiling. UV inhibitors are worth looking for, since sun exposure is a leading cause of fading, drying, and cracking.
Read the label for the exact surface claim. A product that says “for leather” may not be safe for vinyl or leatherette, and a product that says “cleans and conditions” may not deep-clean well. Match the product to your actual seat material, not just the word “leather” on the bottle.
Installation, Application, and Everyday Use
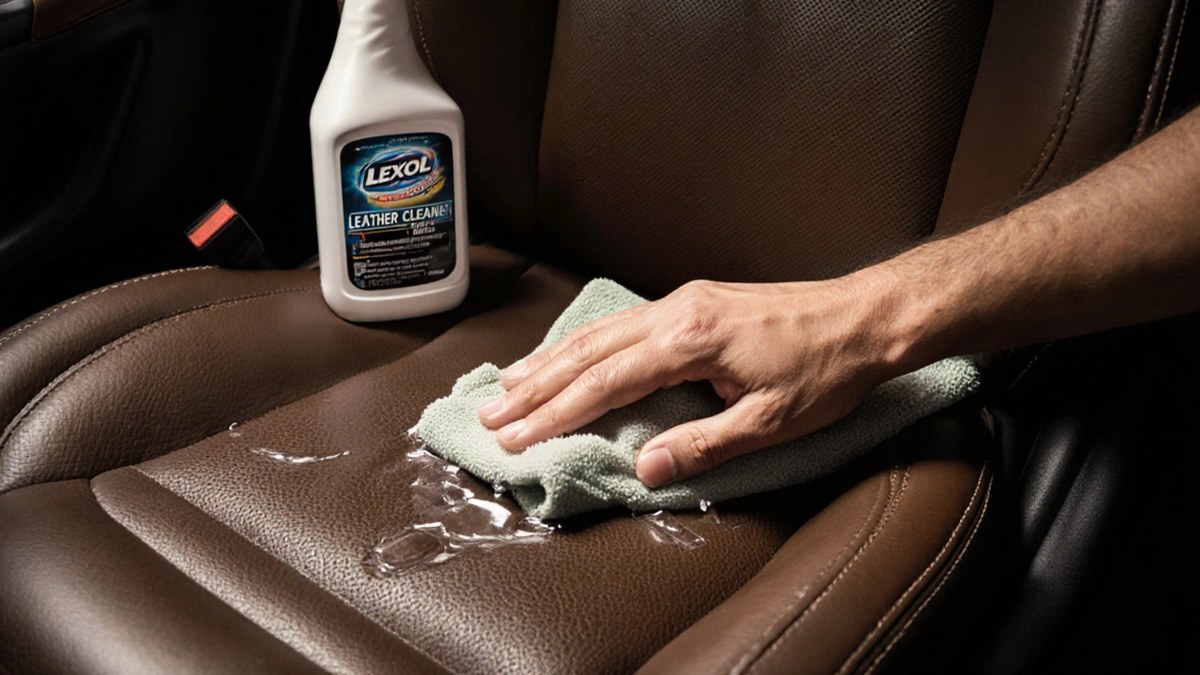
Applying these products is straightforward, but technique matters. Work in a well-ventilated area, ideally in the shade or a garage, and avoid applying conditioner to a hot seat because it will spread unevenly and absorb too quickly.
Remove loose dust and debris with a soft brush attachment so you are not grinding dirt into the leather during cleaning.
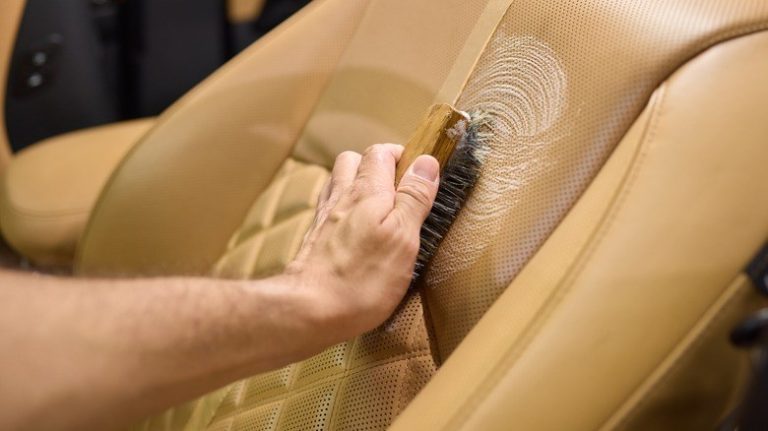
Spray or apply the cleaner to a soft microfiber towel or applicator pad, then work it into the leather in small circular motions. Avoid saturating perforated or heated seats.
Use a clean, damp microfiber towel to remove the cleaner and loosened dirt. Let the leather dry completely before conditioning.
Apply a thin, even layer with an applicator pad, let it dwell for the time listed on the label, then buff off any excess with a clean towel.
How often you do this depends on your environment and use. A good baseline is to clean and condition every three months for a daily driver. If your seats feel dry or look dull, condition more often; if they feel sticky or look shiny, clean more often.
Test any new cleaner or conditioner on a small, hidden area of the seat first, such as the lower side panel or under the seat base. Wait a few minutes to confirm the product does not discolor or soften the surface before treating the full seat.
Cleaning, Care, and Long-Term Maintenance
Between deep cleanings, the best thing you can do is keep the surface free of dust and grit. A quick weekly wipe with a dry or slightly damp microfiber towel removes the abrasive particles that cause micro-scratches and premature wear.
For light soiling, a leather-safe wipe or a diluted leather cleaner on a towel is enough. Reserve the full clean-and-condition routine for when the seats actually need it. Over-conditioning can leave a greasy film that attracts dust and makes the seats feel slippery.
If your seats are already cracked or severely faded, a conditioner will not repair them. It can soften the surrounding leather and slow further damage, but deep cracks usually require professional repair or reupholstery. If you are considering seat covers as an alternative, read our breakdown of whether seat covers protect leather seats from cracking to understand the limits of that approach.
Important Limitations and Common Mistakes
The most common mistake is conditioning dirty leather. This pushes dirt deeper into the surface and creates a sticky buildup that is harder to remove later. Always clean first, even if the seats look fine.
Another mistake is using too much product. More conditioner does not mean better protection. A thick layer will sit on the surface, attract dust, and feel tacky. A thin, even layer that is buffed off is more effective.
Avoid these common errors:
- Using household cleaners, dish soap, or window cleaner on leather
- Scrubbing with stiff brushes or abrasive pads
- Applying conditioner to hot or sun-baked seats
- Ignoring the label’s dwell time and wiping off too early
- Using a conditioner on leatherette or vinyl without confirming compatibility
Do not saturate perforated leather on heated or ventilated seats. Excess liquid can seep into the foam and affect heating elements or airflow. Always apply products to a towel or applicator first, never directly onto the seat, and work in a well-ventilated area to avoid inhaling fumes.
Value, Alternatives, and What to Verify
Leather care products are generally affordable, and a single bottle of cleaner and conditioner can last many months for one vehicle. The real cost is time and consistency, not the products themselves. A twice-yearly routine is enough for many drivers, which makes it one of the cheapest ways to preserve the interior.
If you prefer a simpler approach, an all-in-one cleaner and conditioner can work for light maintenance, but it is not a replacement for a proper deep cleaning. For heavily soiled seats, a dedicated cleaner followed by a dedicated conditioner will always give better results.
Another alternative is professional interior detailing. This costs more but saves time and may include steam cleaning, extraction, and protection that home products cannot match. If your seats are in poor condition, professional assessment is worth the money before you spend on products. If you are more concerned about protecting the seats from future damage than restoring them, seat covers are a practical option. Our comparison of leather seats vs cloth seats covers the trade-offs.
- Confirm your seat material: genuine leather, leatherette, vinyl, or a blend
- Check the label for pH-balanced, alcohol-free, and surface-specific claims
- Verify the product is safe for heated, ventilated, or perforated seats if applicable
- Read the dwell time and application instructions before committing
- Check the return policy and manufacturer instructions if you are unsure
Final Recommendation
The right order is simple: clean, dry, condition. Use a dedicated leather cleaner to remove dirt and old buildup, let the surface dry, then apply a thin layer of conditioner and buff off the excess. Do this every three months for a daily driver, and adjust based on how the seats feel and look.
If you can only buy one product, buy a cleaner. Dirty leather can be restored, but conditioning dirty leather makes the problem worse. If you can buy two, invest in a pH-balanced cleaner and a conditioner with UV protection that matches your seat material.
- Best use case: Routine maintenance for leather or leatherette seats in daily-driven vehicles
- Main strength: Cleaner removes buildup while conditioner restores flexibility and protection
- Main limitation: Results depend on correct sequence, product compatibility, and consistency
- Next verification step: Check your owner’s manual and seat tag to confirm the exact material before buying