How to Clean Car Dashboard Without Streaks Using Microfiber

Use two microfiber towels: one damp with a pH-neutral cleaner and one dry for buffing. Work in small sections, wipe with light pressure, and buff before the cleaner dries.
If you have been searching for how to clean car dashboard without streaks, the fix is simpler than most detailing advice suggests: use two microfiber towels and the right cleaner. Streaks are rarely caused by dirt alone — they come from leftover product, trapped oils, and wiping technique.
- Two-towel method: One damp towel cleans, one dry towel buffs to prevent residue and streaks.
- Cleaner choice: Use a pH-neutral, silicone-free product; avoid ammonia-based glass cleaners and degreasers.
- Technique: Spray onto the towel, work in small sections, and clean in the shade so.
- Material care: Adjust pressure and product for hard plastic, soft-touch, leather, and glossy trim surfaces.
- Maintenance: Dust weekly, deep-clean monthly, and wash microfiber towels without fabric softener.
The Short Answer: The Two-Towel Microfiber Method
The two-towel method is exactly what it sounds like. One towel applies the cleaner and lifts the grime; the second, dry towel buffs the surface before residue can dry into a visible film. This two-step process is the most reliable way to get a clean, factory-matte finish on hard plastics, vinyl, and glossy trim.
Why One Towel Is Never Enough for a Streak-Free Finish
A single towel quickly becomes saturated with cleaner, dust, and dissolved oils. Once that happens, you are no longer wiping the surface — you are spreading a thin, even layer of dirty product across it. When the liquid evaporates, the oils and dissolved dirt remain behind as streaks and smears.
Using a second dry towel removes that residue while it is still wet. The key is timing: buff before the cleaner flashes off, especially on warm days.
How Microfiber Physically Removes Streak-Causing Oils and Dirt
Microfiber towels are made of ultra-fine polyester and polyamide fibers split into microscopic strands. These strands create a large surface area and a slight static charge that attracts dust and traps oils inside the fabric rather than pushing them around. That is why microfiber outperforms cotton, paper towels, and shop rags for interior cleaning.
The polyamide core is also highly absorbent, which helps pull excess cleaner off the surface instead of leaving a residue film behind.
Keep your “wet” towel and “dry” towel visually distinct — for example, one gray and one black — so you never accidentally buff with a dirty towel. Designate the dry towel for buffing only and do not let it touch the cleaner.
Gather the Right Supplies Before You Start
You do not need a cabinet full of detailing products. For a streak-free dashboard, the supplies list is short: two clean microfiber towels, a pH-neutral interior cleaner, and possibly a soft brush for vents and crevices.
Choosing the Best Microfiber Towels: GSM, Pile Height, and Edge Type
Not all microfiber towels are the same. For dashboard cleaning, look for a towel in the 300-400 GSM (grams per square meter) range. That weight is dense enough to absorb cleaner and trap dirt, but not so plush that it snags on textured plastic or vents.
Pile height matters too. A short, tight pile works best on hard plastics and glossy trim because it glides smoothly without leaving lint. A longer, fluffier pile is better for soft-touch surfaces where you want extra cushioning.
Edge type is a smaller factor, but a cut edge can fray over time. A rolled or “satin” edge is more durable and less likely to scratch delicate trim when you fold the towel.
Selecting a pH-Neutral, Silicone-Free Cleaner for Your Dashboard
Dashboard plastics are sensitive to harsh chemicals. A pH-neutral interior cleaner is safe for most factory surfaces, including hard plastic, vinyl, soft-touch coatings, and leatherette. Avoid products with silicone, which leaves a greasy film that attracts dust and creates a reflective haze on the windshield.
If you are unsure whether a cleaner is safe, check the label for “pH neutral” and “safe for plastics.” When in doubt, test the product on a small, hidden area of the dashboard first.
Ventilation and Safety When Working with Chemical Cleaners
Even mild interior cleaners can release fumes. Work with the car doors open or the windows down, especially in a garage or on a warm day. Avoid spraying cleaner near your face, and never mix different cleaning products — combining chemicals can create harmful vapors.
Never spray cleaner directly onto dashboard controls, screens, or instrument clusters. Liquid can seep into seams and damage electronics. Always spray onto the towel first and keep moisture away from electrical components.
Step-by-Step: How to Clean a Car Dashboard Without Streaks
Follow these steps in order. The process takes about ten minutes for a typical dashboard.
Step 1: Dust and Lift Loose Debris with a Dry Microfiber Towel
Start with a dry microfiber towel. Wipe the dashboard surface to remove loose dust, crumbs, and debris. This step prevents scratching when you move to the wet cleaning phase, because loose particles will not be dragged across the plastic.
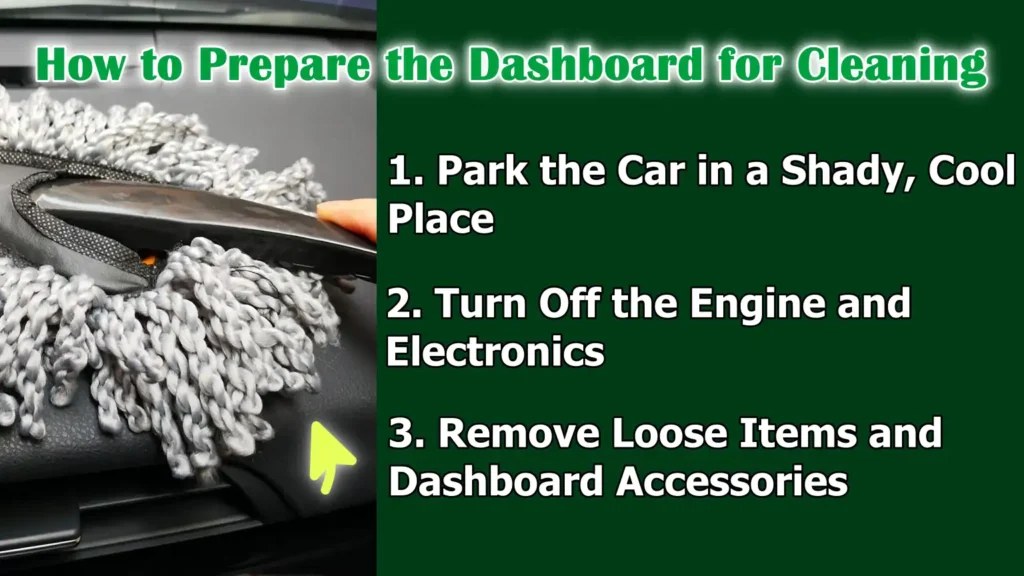
For vents and crevices, use a soft brush or the corner of the towel to dislodge dust before wiping.
Step 2: Spray the Cleaner onto the Towel, Not the Dashboard
Spray two or three pumps of cleaner onto your wet towel. The towel should be damp, not soaked. Spraying the dashboard directly risks overspray on the windshield, controls, and screens, and it makes it harder to control how much product reaches the surface.
Step 3: Wipe with Light Pressure and Overlapping Passes
Fold the towel into a manageable pad and wipe the dashboard in overlapping passes. Use light to moderate pressure — enough to make contact, but not so much that you grind dirt into the surface. Work in small sections so the cleaner does not dry before you buff.
For textured grain, use a slightly firmer pressure or a soft brush to work the cleaner into the low spots.
Step 4: Buff with a Second Dry Microfiber Towel
Immediately after wiping a section, take your dry towel and buff the same area with light pressure. This lifts any remaining cleaner and oils before they dry. The result should be a clean, even finish with no visible film.
Work in sections roughly the size of the glovebox door. If you clean the entire dashboard before buffing, the first areas will already have dried and streaked.
Adjusting Your Method for Different Dashboard Materials

Dashboard surfaces vary by vehicle and trim level. The two-towel method works on all of them, but you may need to adjust pressure, product choice, and technique.
Hard Plastics and Vinyl: The Most Common Dashboard Surface
Hard plastics are the easiest to clean. They tolerate light pressure and most pH-neutral cleaners. The main risk is leaving too much product behind, which shows up as a glossy, streaky film. The dry towel buff is especially important here.
Soft-Touch and Painted Surfaces: Avoiding Hazing and Discoloration
Soft-touch coatings and painted interior trim are more delicate. Aggressive scrubbing can cause hazing or rub off the coating. Use a plush microfiber towel, lighter pressure, and a cleaner labeled safe for soft-touch surfaces. If you notice discoloration or a dull patch, stop and switch to plain water on a clean towel.
Leather and Leatherette: Cleaning Without Drying Out the Material
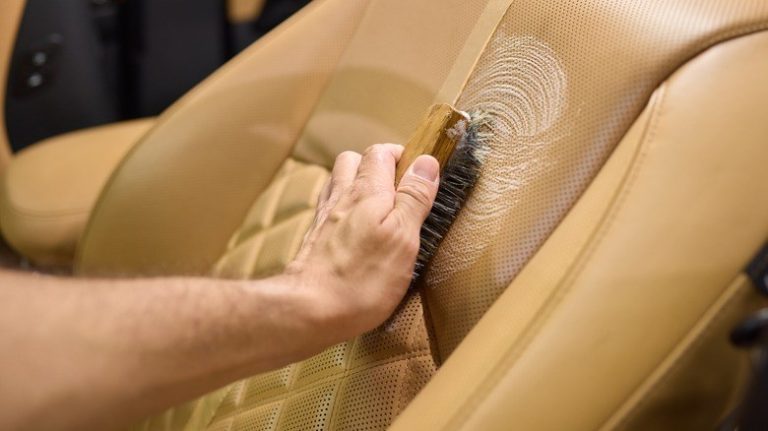
Genuine leather needs a cleaner that is gentle enough to avoid stripping natural oils, while leatherette is more forgiving. Use a dedicated leather-safe cleaner if your dashboard has leather surfaces, and follow it with a conditioner if the manufacturer recommends one. Avoid silicone-based dressings, which can make the leather slippery and attract dust.
If you are also refreshing your seats, the same care principles apply to leather seating surfaces — and the same caution about harsh cleaners. For more on that, see our guide on how to install leather seat covers.
Carbon Fiber and Glossy Trim: Preventing Micro-Scratches and Halos
Glossy trim, piano black inserts, and carbon-fiber accents show every imperfection. Use a clean, lint-free microfiber towel and a gentle cleaner. Wipe in straight lines rather than circles to avoid visible swirl marks. If the trim is already scratched, cleaning will not remove the scratches — it will only prevent new ones.
Fixing Existing Streaks and Stubborn Residue
If your dashboard already has streaks or a sticky film from previous products, you may need to remove the build-up before a regular cleaning will work.
Removing Old Silicone Dressing and Product Build-Up
Silicone-based dressings create a layer that attracts dust and becomes tacky over time. To remove it, use a slightly damp microfiber towel with a pH-neutral cleaner and wipe the surface several times, flipping the towel to a clean side between passes. A second pass with a dry towel is essential. In severe cases, a dedicated interior prep spray may be needed, but always check compatibility with your dashboard material first.
Cleaning Glossy Piano Black Trim Without Streaking
Piano black trim is notorious for streaks. Use a fresh, high-quality microfiber towel, a mild cleaner, and finish with a dry buff. If streaks persist, the issue is usually too much product — reduce the number of sprays and increase the buffing pressure slightly.
Reaching Crevices and Textured Grain Without Leaving Residue
Vents, seams, and textured grain trap dust and cleaner. Use a soft detailing brush to loosen debris, then wipe with a damp microfiber towel wrapped around a flat tool like a plastic trim tool. Avoid cotton swabs, which can leave lint behind.
Should You Apply a Dressing or Protectant After Cleaning?
A dressing is optional. Many modern dashboards look best with a clean, factory-matte finish. Dressings add shine and sometimes UV protection, but they also introduce the risk of streaks, glare, and dust attraction.
The Streak Risk of Silicone-Based Dressings and How to Avoid It
Silicone dressings are the most common cause of dashboard streaks. They leave a wet-looking film that migrates, attracts dust, and can fog the windshield as vapors condense on the glass. If you use a dressing, apply it very sparingly and buff thoroughly.
Safer Protection: UV Protectants and Ceramic Coatings
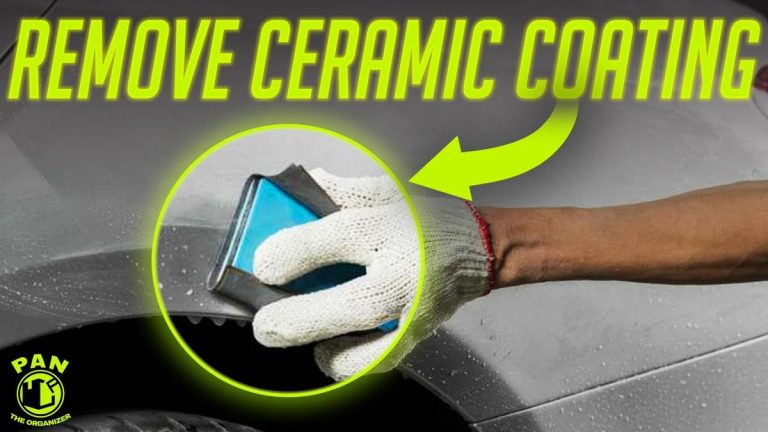
Water-based UV protectants are less likely to streak than silicone-based products. They provide some protection against sun damage without the heavy gloss. For longer-lasting protection, some owners use interior ceramic coatings, which create a hydrophobic layer that makes future cleaning easier. The same logic applies to exterior ceramic coatings — they reduce how often you need to wash and make maintenance simpler. If you are considering that route, our guide on how to wash car with ceramic coating explains the care routine.
How to Apply a Dressing Without Creating New Streaks
Apply the dressing to a microfiber towel, not the dashboard. Use a small amount and spread it thinly. Wait the recommended dwell time if the product requires it, then buff with a second dry towel. Less is always more — you can add a second thin layer later if needed.
Maintenance Routine for a Streak-Free Dashboard Year-Round
Consistency beats intensity. A short weekly wipe-down prevents the build-up that leads to streaks. The same maintenance mindset applies to the outside of your car — if your paint is not protected by a coating, our guide on how to wash a car without ceramic coating covers the right wash routine for unprotected clear coat.
A Simple Weekly and Monthly Cleaning Schedule
Weekly: dust the dashboard with a dry microfiber towel and wipe down high-touch areas like the steering wheel and center console with a lightly dampened towel.
Monthly: perform the full two-towel cleaning described above. If you use a dressing or protectant, apply it monthly rather than weekly.
How to Wash and Store Microfiber Towels So They Keep Working
Microfiber towels lose their effectiveness when they become clogged with oils and dirt. Wash them separately from cotton fabrics using a mild, fragrance-free detergent. Do not use fabric softener, which coats the fibers and destroys their absorbency. Air-dry or tumble dry on low heat with no dryer sheets. Store clean towels in a sealed bag or container to keep them dust-free.
Common Dashboard Cleaning Mistakes That Cause Streaks
Most streaks are caused by a handful of repeatable mistakes. Here is what to avoid.
Cleaning in Direct Sunlight or on a Hot Dashboard
Heat makes cleaners evaporate faster, which means they dry before you can buff them. The result is a streaky, hazy film. Clean in the shade or when the interior is cool to give yourself more working time.
Over-Saturating the Surface with Too Much Product
More cleaner does not mean a cleaner dashboard. Excess product leaves a residue that is difficult to remove. A damp towel is sufficient for most cleaning tasks.
Using Household Glass Cleaners, Degreasers, or Paper Towels
Glass cleaners often contain ammonia, which can damage plastics and soft-touch coatings. Degreasers are too aggressive for interior trim. Paper towels leave lint and can scratch glossy surfaces. Stick with pH-neutral interior cleaners and microfiber towels.
- Use two microfiber towels: one wet, one dry
- Spray cleaner onto the towel, not the dashboard
- Work in small sections and buff before the cleaner dries
- Test new products on a hidden area first
- Don’t spray cleaner near screens, controls, or vents
- Don’t use ammonia-based glass cleaners or degreasers
- Don’t clean in direct sunlight
- Don’t use fabric softener on microfiber towels
Keeping a streak-free dashboard is mostly about technique and towel care rather than expensive products. The two-towel microfiber method works on every dashboard material, and a simple weekly dusting routine prevents the build-up that turns into stubborn film. If your interior is already coated with old dressing, remove it once with a pH-neutral cleaner, then maintain the clean slate with light, regular wipe-downs.
For a dashboard that looks clean without shiny residue, use two microfiber towels, a pH-neutral silicone-free cleaner, and the buffing step every time. Skip heavy dressings, avoid harsh household products, and clean in the shade for the most reliable streak-free results.